Building my First Bass Guitar
Posted
Taking the digression from my last two posts to the extreme and the reason for half a year of radio silence: I built a bass guitar! This post is a bit of a photo-blog of my first venture into luthiery, so you've been warned, there are many images ahead.
Why build a bass guitar instead of just buying one and retrofitting the polyphonic pickup and custom electronics? Normally, I'd say “because I can,” but being my very first attempt, I very much can't (yet). The real reason: because none I could find match everything I wanted and also because I've been watching a lot of guitar builders on YT over the past couple of years and I just wanted to 😁. Due to my lack of experience in luthiery, woodworking, or truly any “practical” skill, I decided to go with a kit build. And since my favorite guitar building YTer (Crimson Custom Guitars, if you're wondering—no affiliation or sponsorship, as with all product names listed in this article) also does kits and even custom kits, the choice where I'd get it was easy.
Since I wanted to go with a very… anachronistic style, I decided to combine elements from multiple periods, I based my design off the first mass-produced bass guitar: the Fender '51 precision bass. So I specified the following for the kit: a rear-routed ash '51 P-style body and a roasted maple neck with zero fret, no fretboard inlays, and a reverse '51 P-style headstock. That's at least three significant deviations from the original there, which is front-routed, doesn't have a zero fret, and most certainly doesn't have an '80s metal guitar reverse headstock. A fourth modern deviation was special side dots. What kind of special side dots? The kind they didn't carry, so I had to do those myself 😲 (they were nice enough to pre-drill the holes to the right size though). Since I only have two hands and no tripod, I only have photos of the result which didn't turn out too bad, methinks:
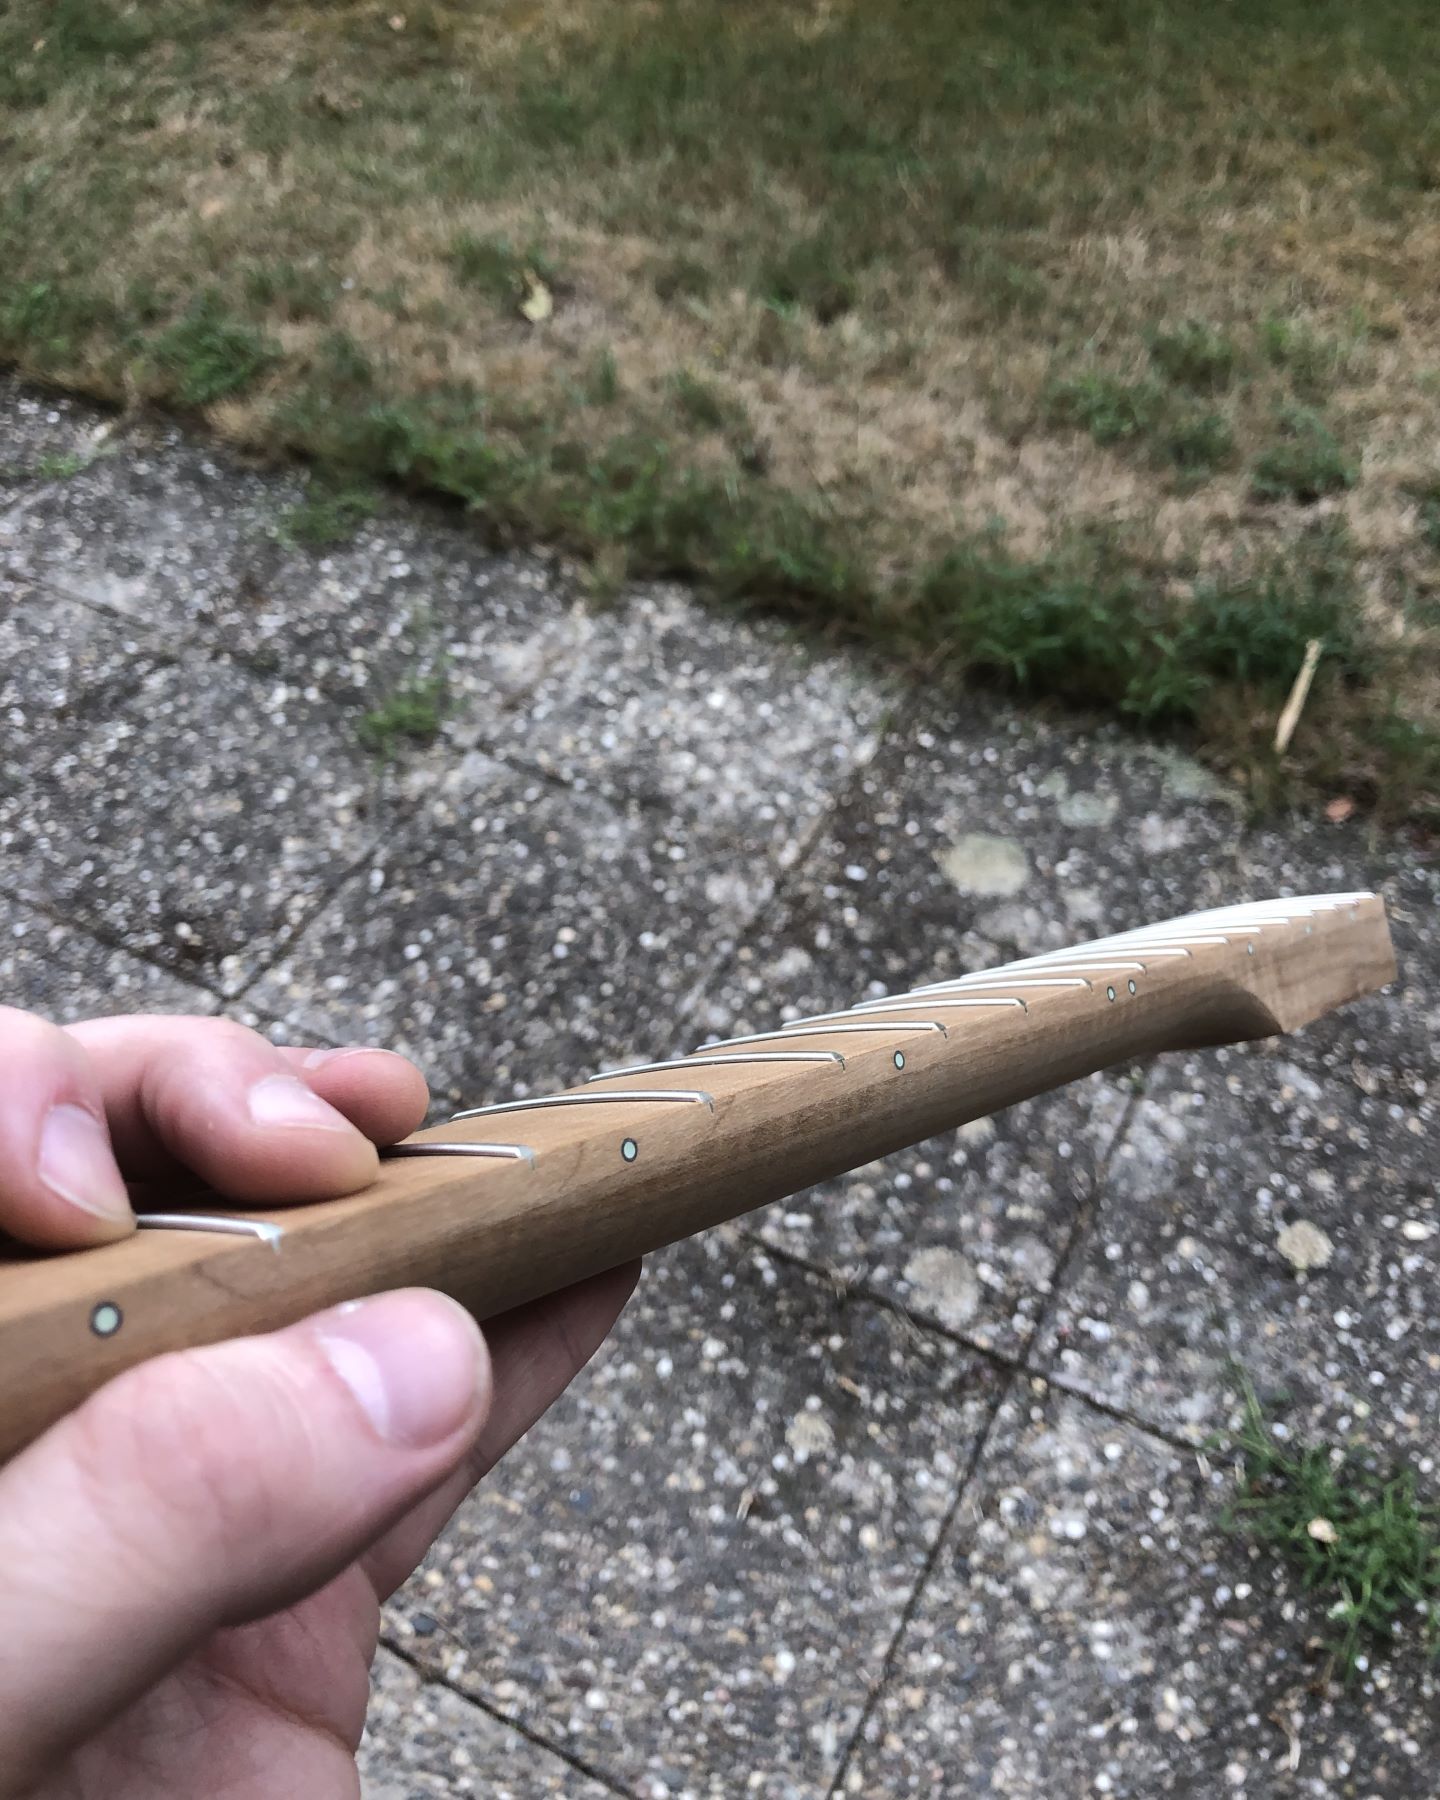
See what's special about them yet? No? Then just scroll down a little further.
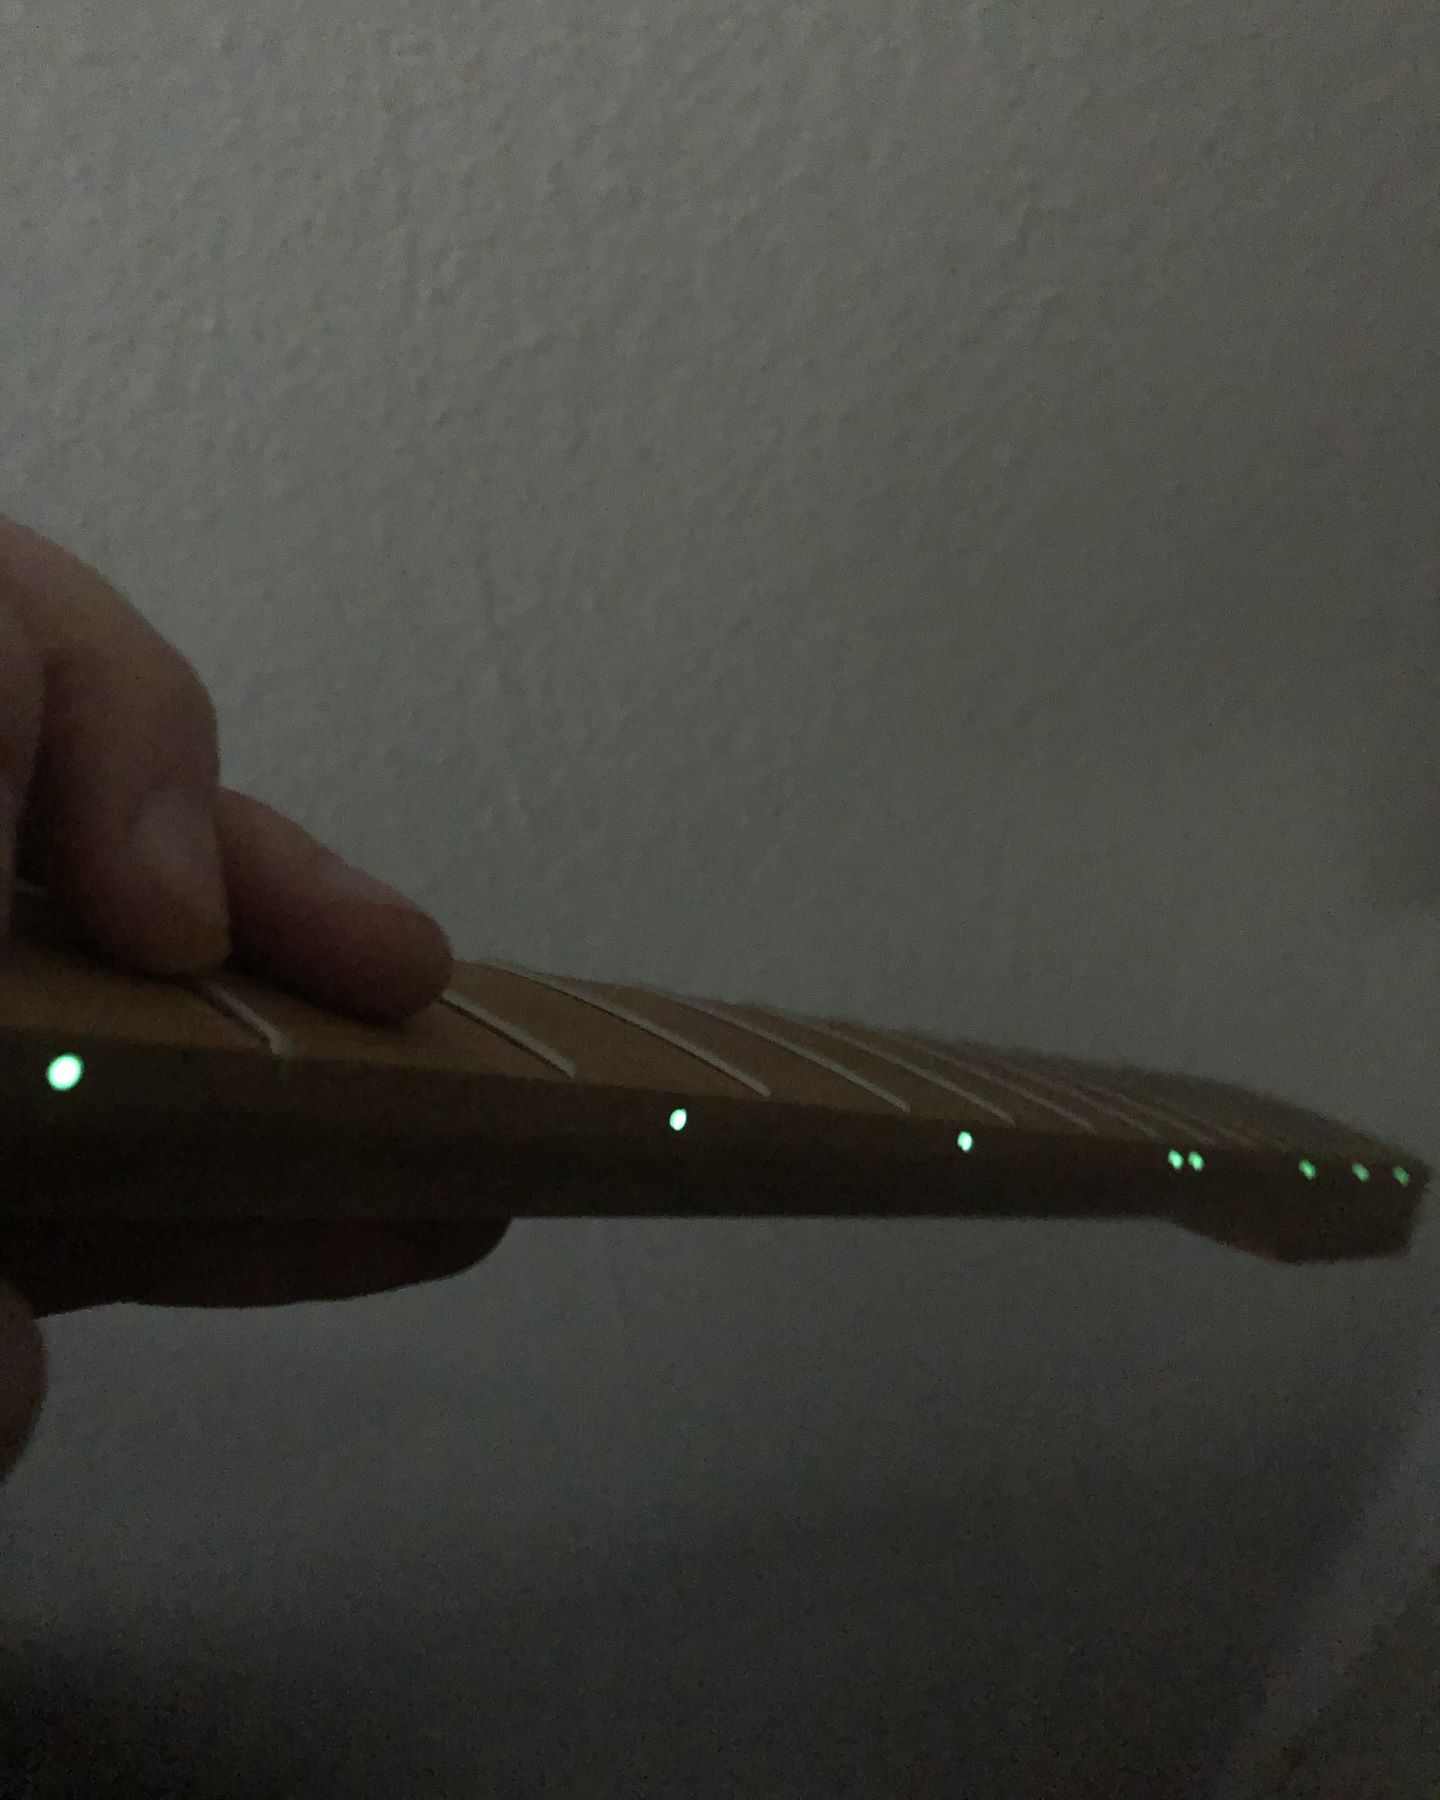
Yup. I'm now an official member of the glowy dots gang 👽. Luminlay, if you didn't recognize them. What did the installation evolve? Superglue, a side cutter, a file (which I didn't have before), masking tape as a stopper for the file, and 6 or so grades of sandpaper (which I didn't own before either). Spoiler: masking tape, files, and lots of sanding are recurring themes in guitar building. Much like in the next step, which was to do the fretwork on the neck:
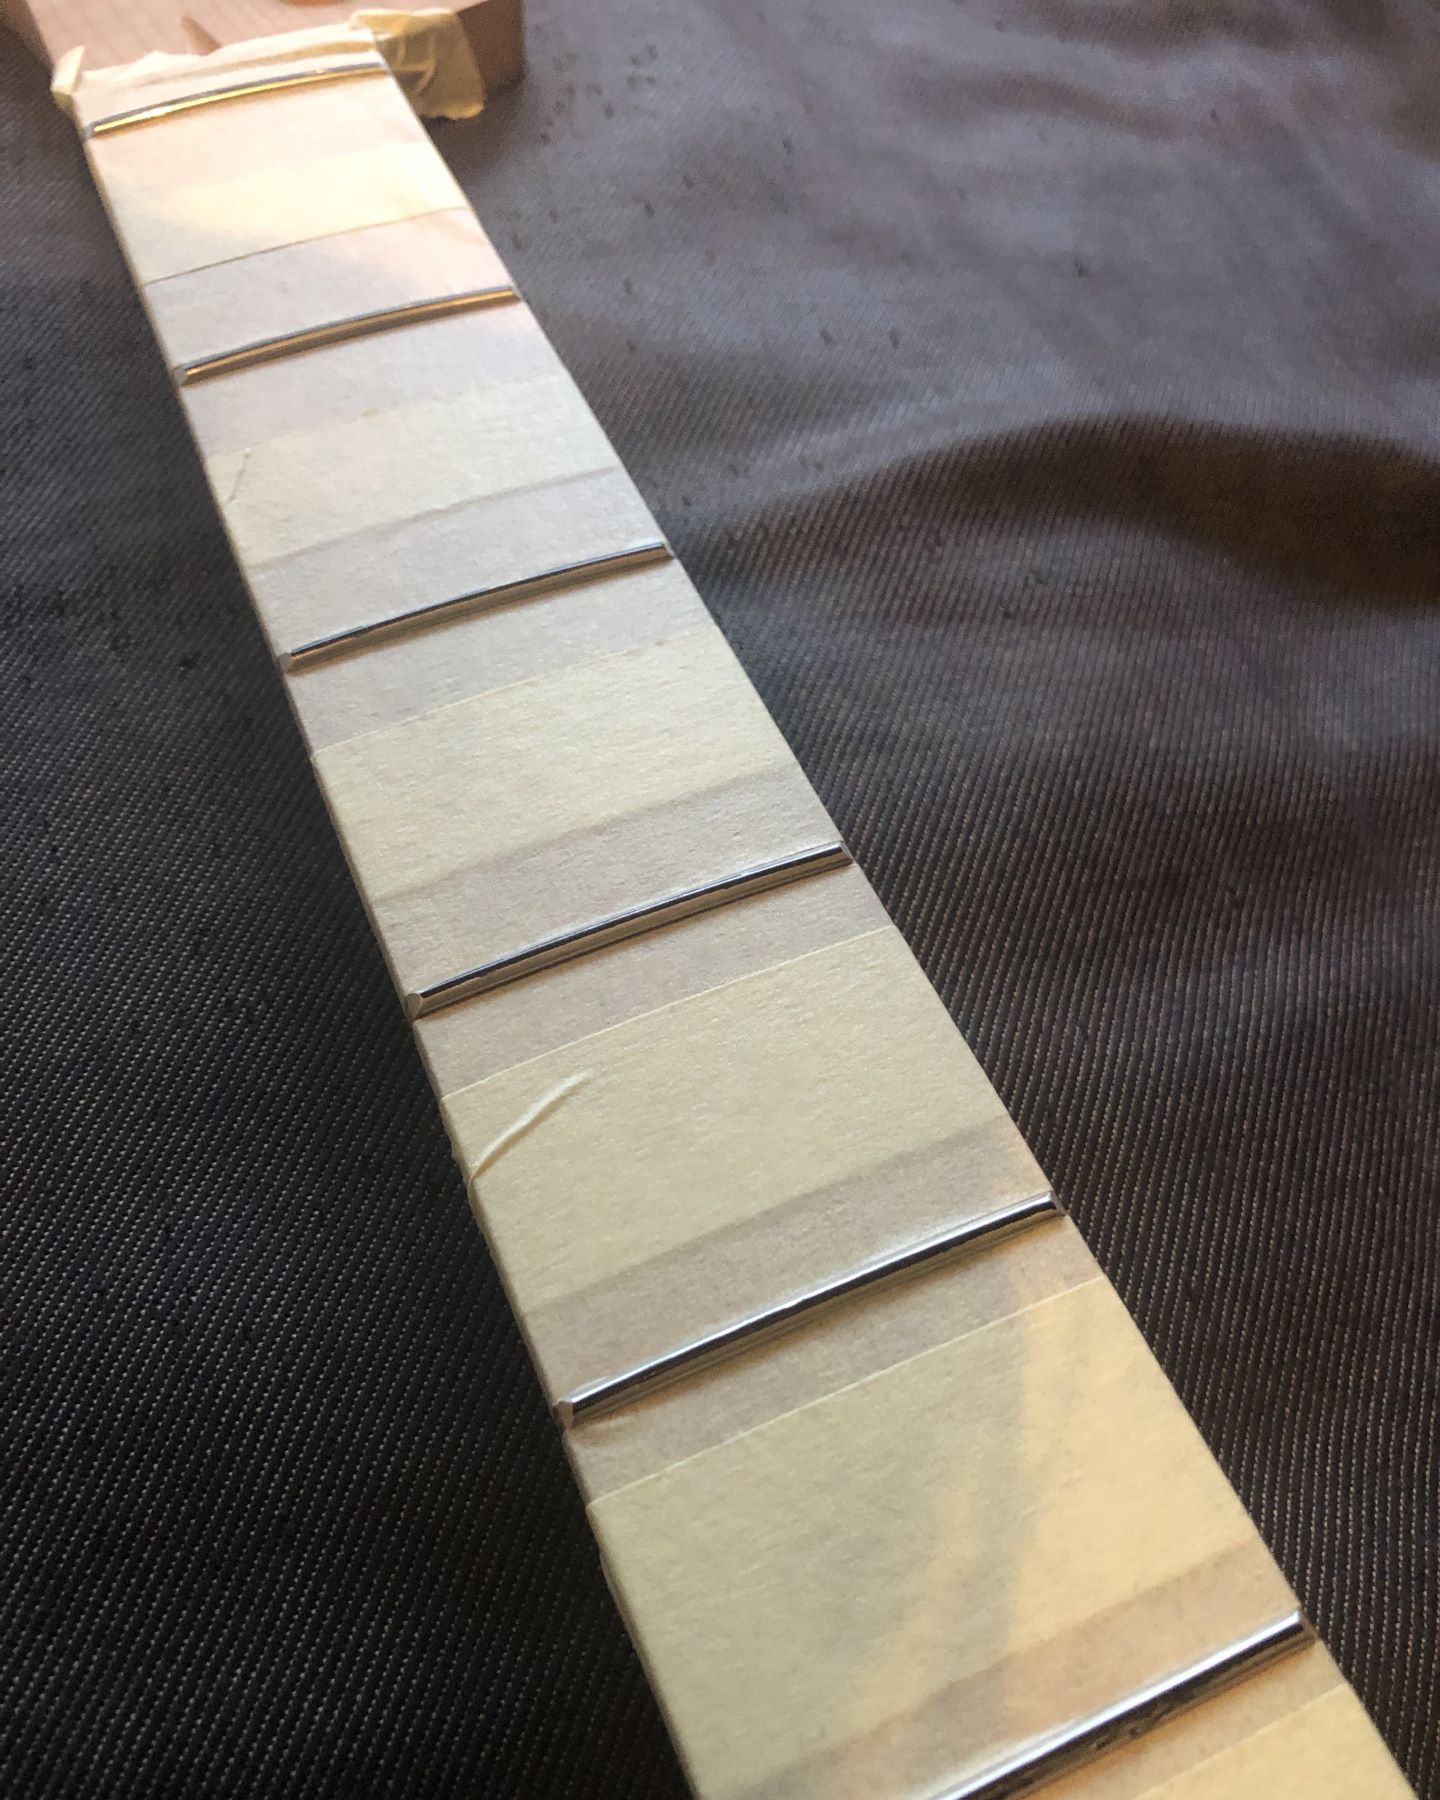
This step also involved a notched straightedge, which is a specialized straightedge for luthiers to check if a neck is straight underneath the frets, several tiny files, a “sanding beam” (a metal beam with a very flat side you affix self-stick sandpaper to), and various abrasives. At this point, imagine a couple of images of me drilling numerous holes into the parts of the kit:
Holes for the control knobs. Holes for the neck screws (well, actually bolts for a literal bolt-on neck in this case). Holes for the neck bolt ferrules. Holes for the bridge mounting screws. Holes for the threaded inserts to match the bolts. This last step nearly went catastrophically wrong. The first insert caused large splinters to lift from the neck. Turns out roasted maple is hard, but incredibly brittle. In the end, I drilled the holes at almost exactly the outer thread diameter and secured the threaded inserts with lots of glue. Very glad that part is never visible.
Oh, and guess what. I didn't have any of the necessary drill bits. Told you I have no experience with any practical skills 😅 I also had to enlarge the holes for the tuners which were much smaller than necessary. I used a step drill bit (designed for sheet metal but works well on wood as well) and a reamer. Two more tools to acquire.
Oh, you thought those were all the holes I had to drill? Nope. Several more and the worst one was the next. Remember that I wanted to install a polyphonic pickup? Well, polyphonic pickups mean more or larger pickup wires. Larger than the typical hole for pickup wires:
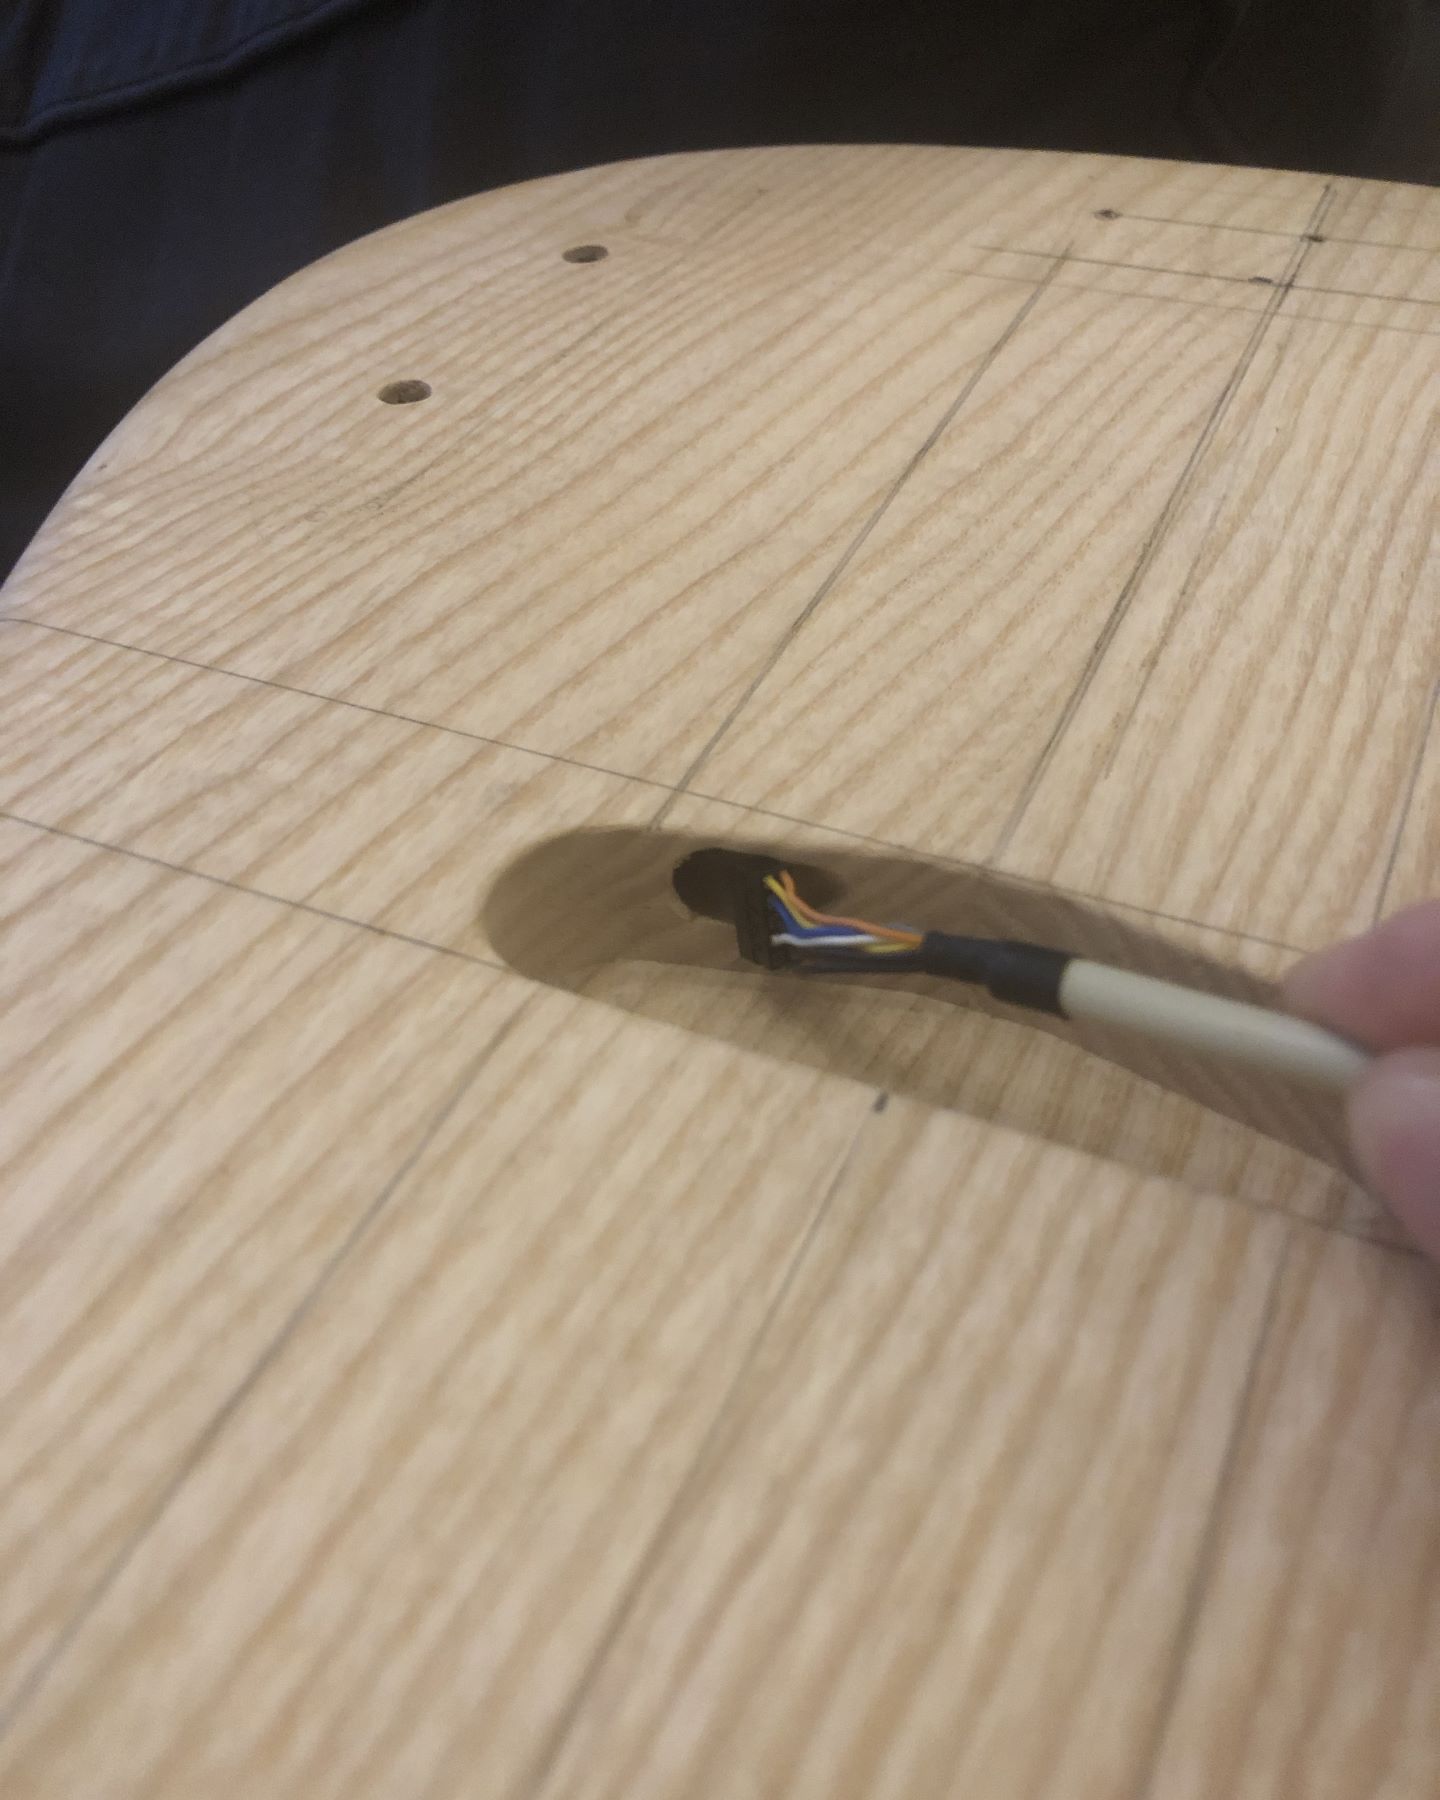
That won't fit. Can't get a 10 mm×4 mm connector through an 8 mm hole. Since that corresponds to a 10.77 mm diagonal, and I wanted at least some margin so that the connector doesn't get stuck during installation, I decided I had to drill (at least) a 12 mm hole. I had to think about this a bit, since the “drilling diagonally from the pickup rout” technique that a majority of luthiers seem to use wouldn't really work for a 12 mm hole, especially considering how close the much smaller existing hole was to the top (and to the back on the other side).
At that point, I decided to drill the holes for the standard ¼ inch audio jack and the polyphonic connector first. Which was also scary in itself since the polyphonic connector I decided on required a 24 mm hole (read medium-sized Forstner bit, not really what you want to use with a hand-held drill as a beginner) and much smaller mounting holes very close (less than 3 mm of wood left) to that main hole, but in the end it worked out all right (or so I thought, more on that later):
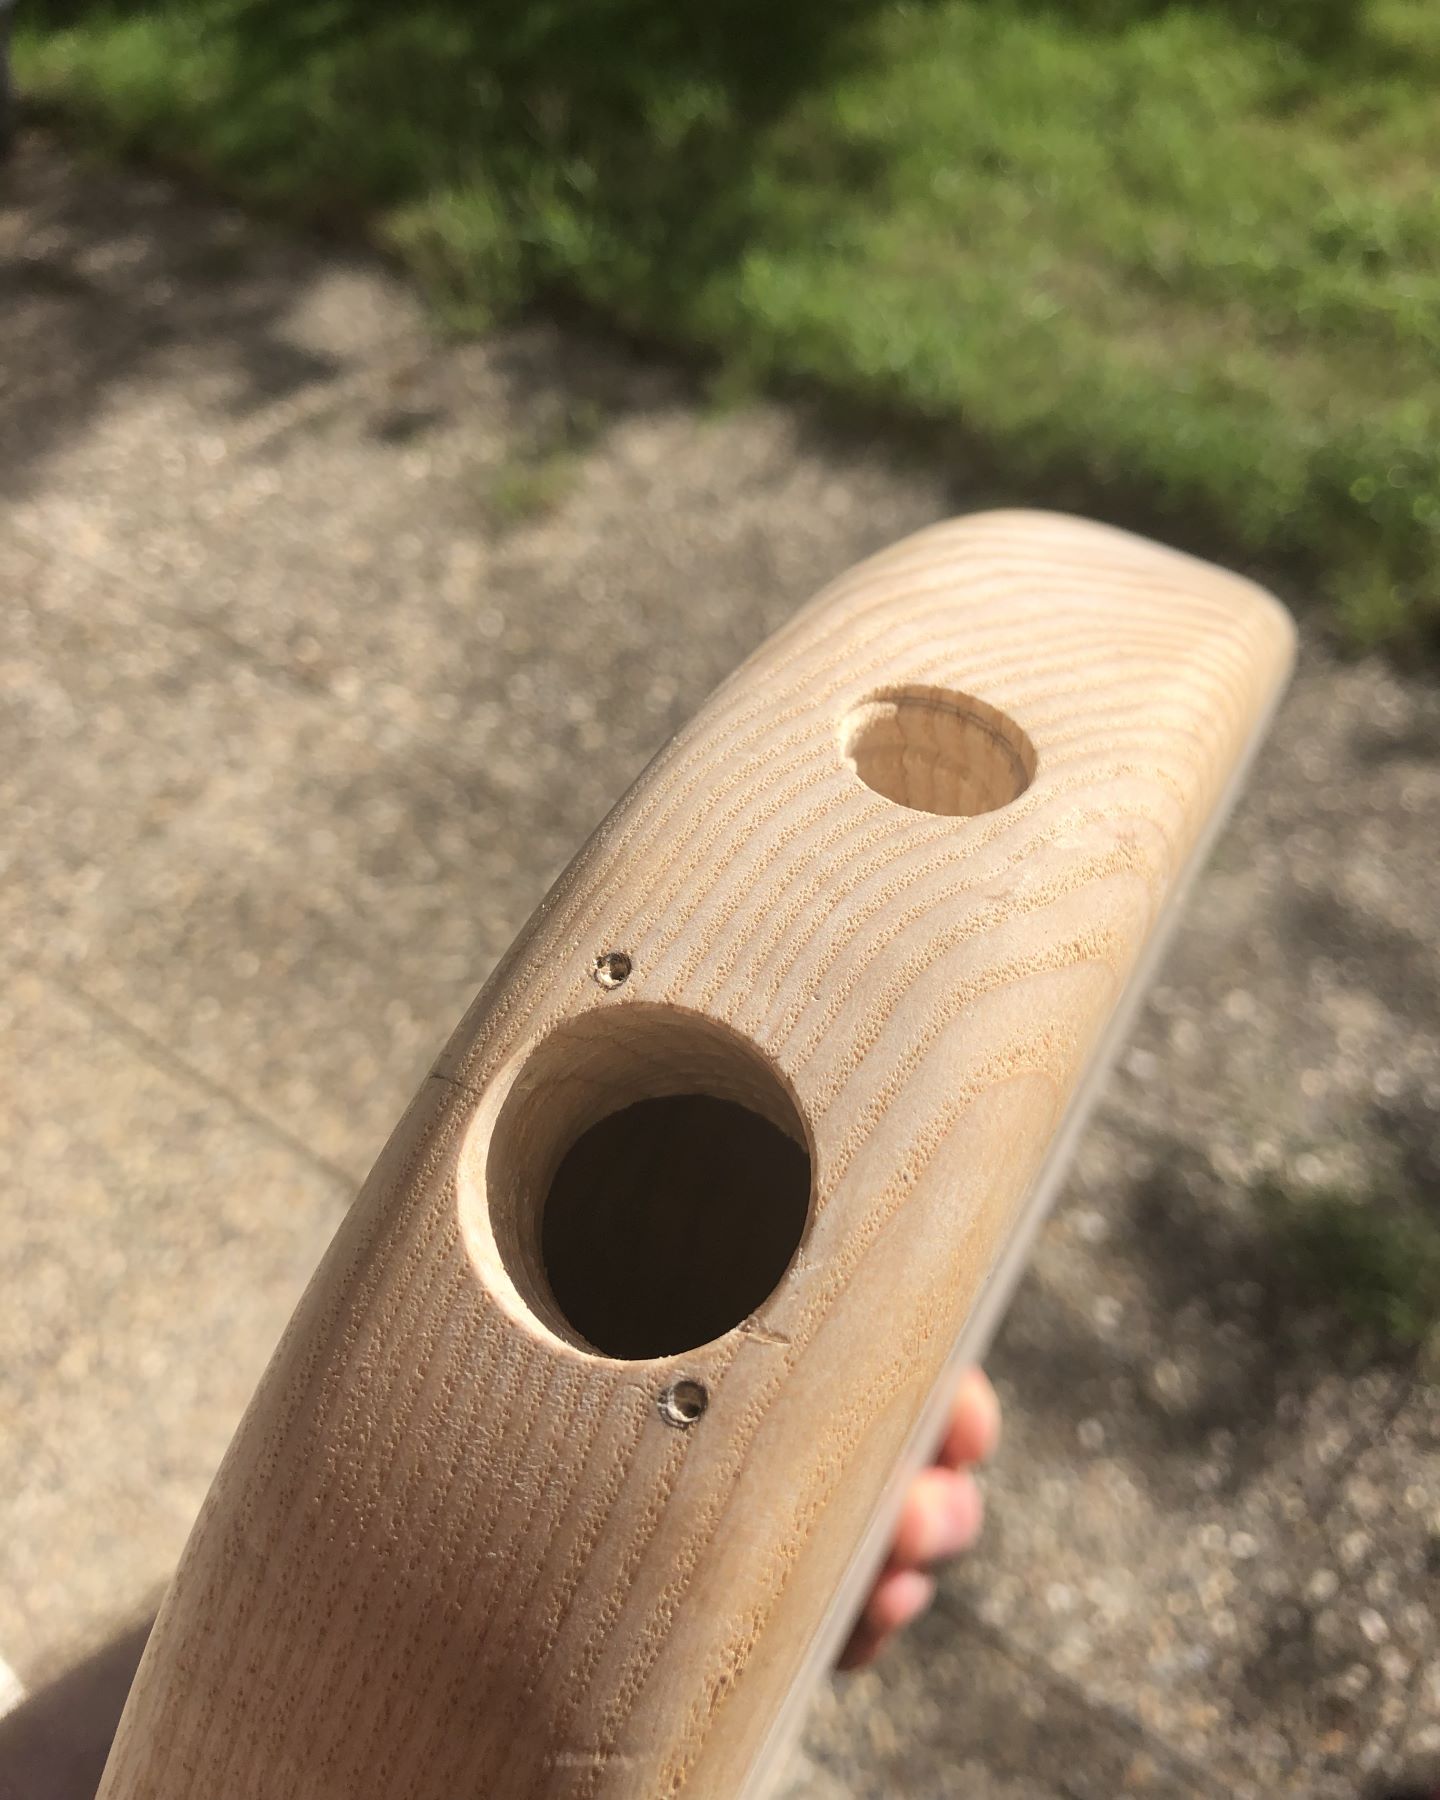
At that point I had an idea 💡, maybe I could drill through one of those holes parallel to the body! So I transferred the position of the pickup rout to the back of the body as well as I could with a little plastic ruler (you think I have proper rulers and a square? Ha!) and laid out a plan for drilling:
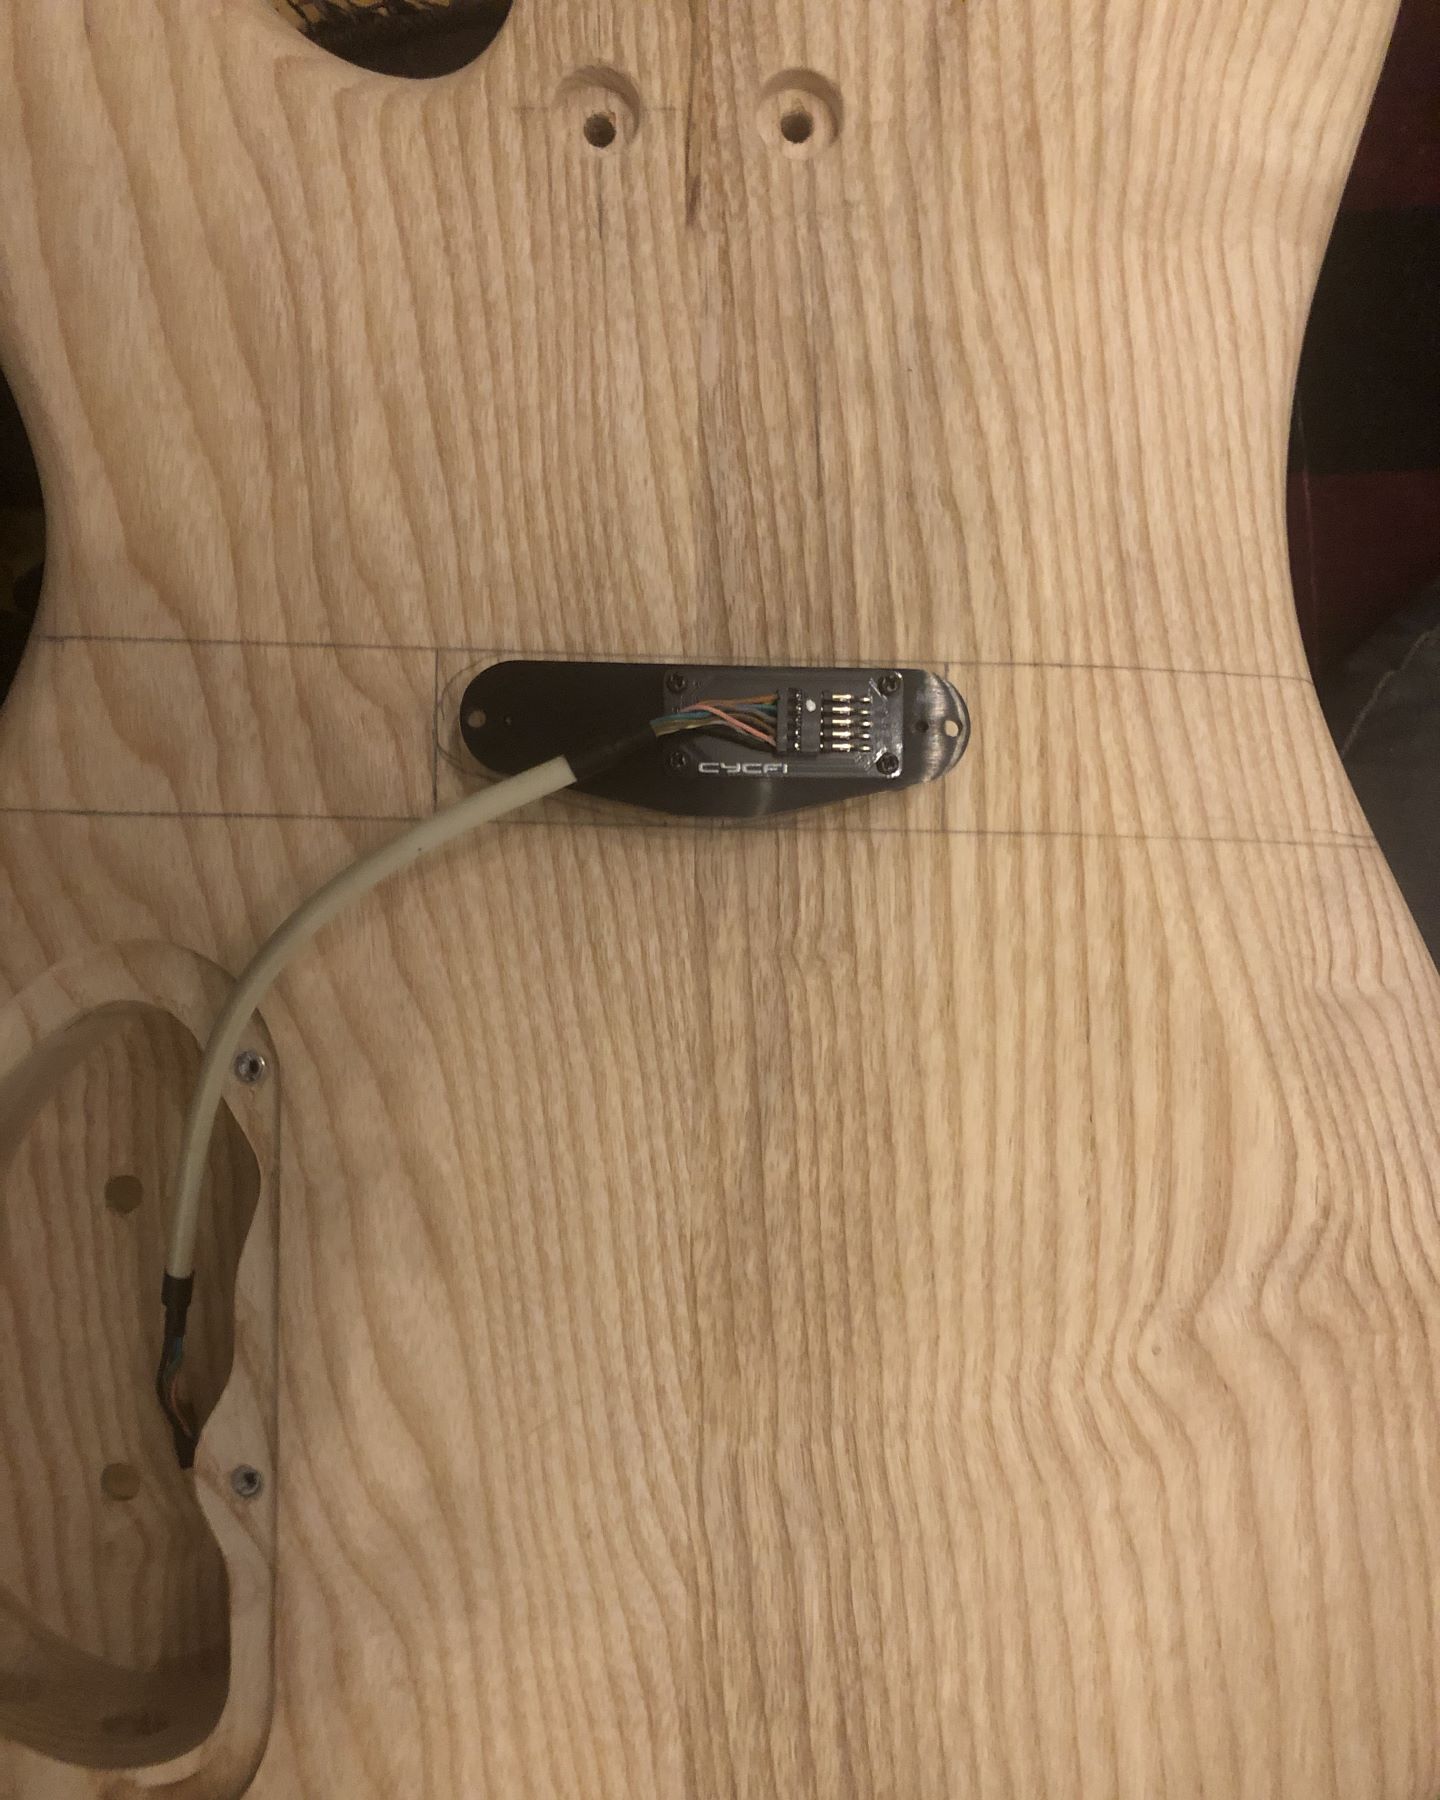
This could work, so I ordered the scary bit (pun intended):
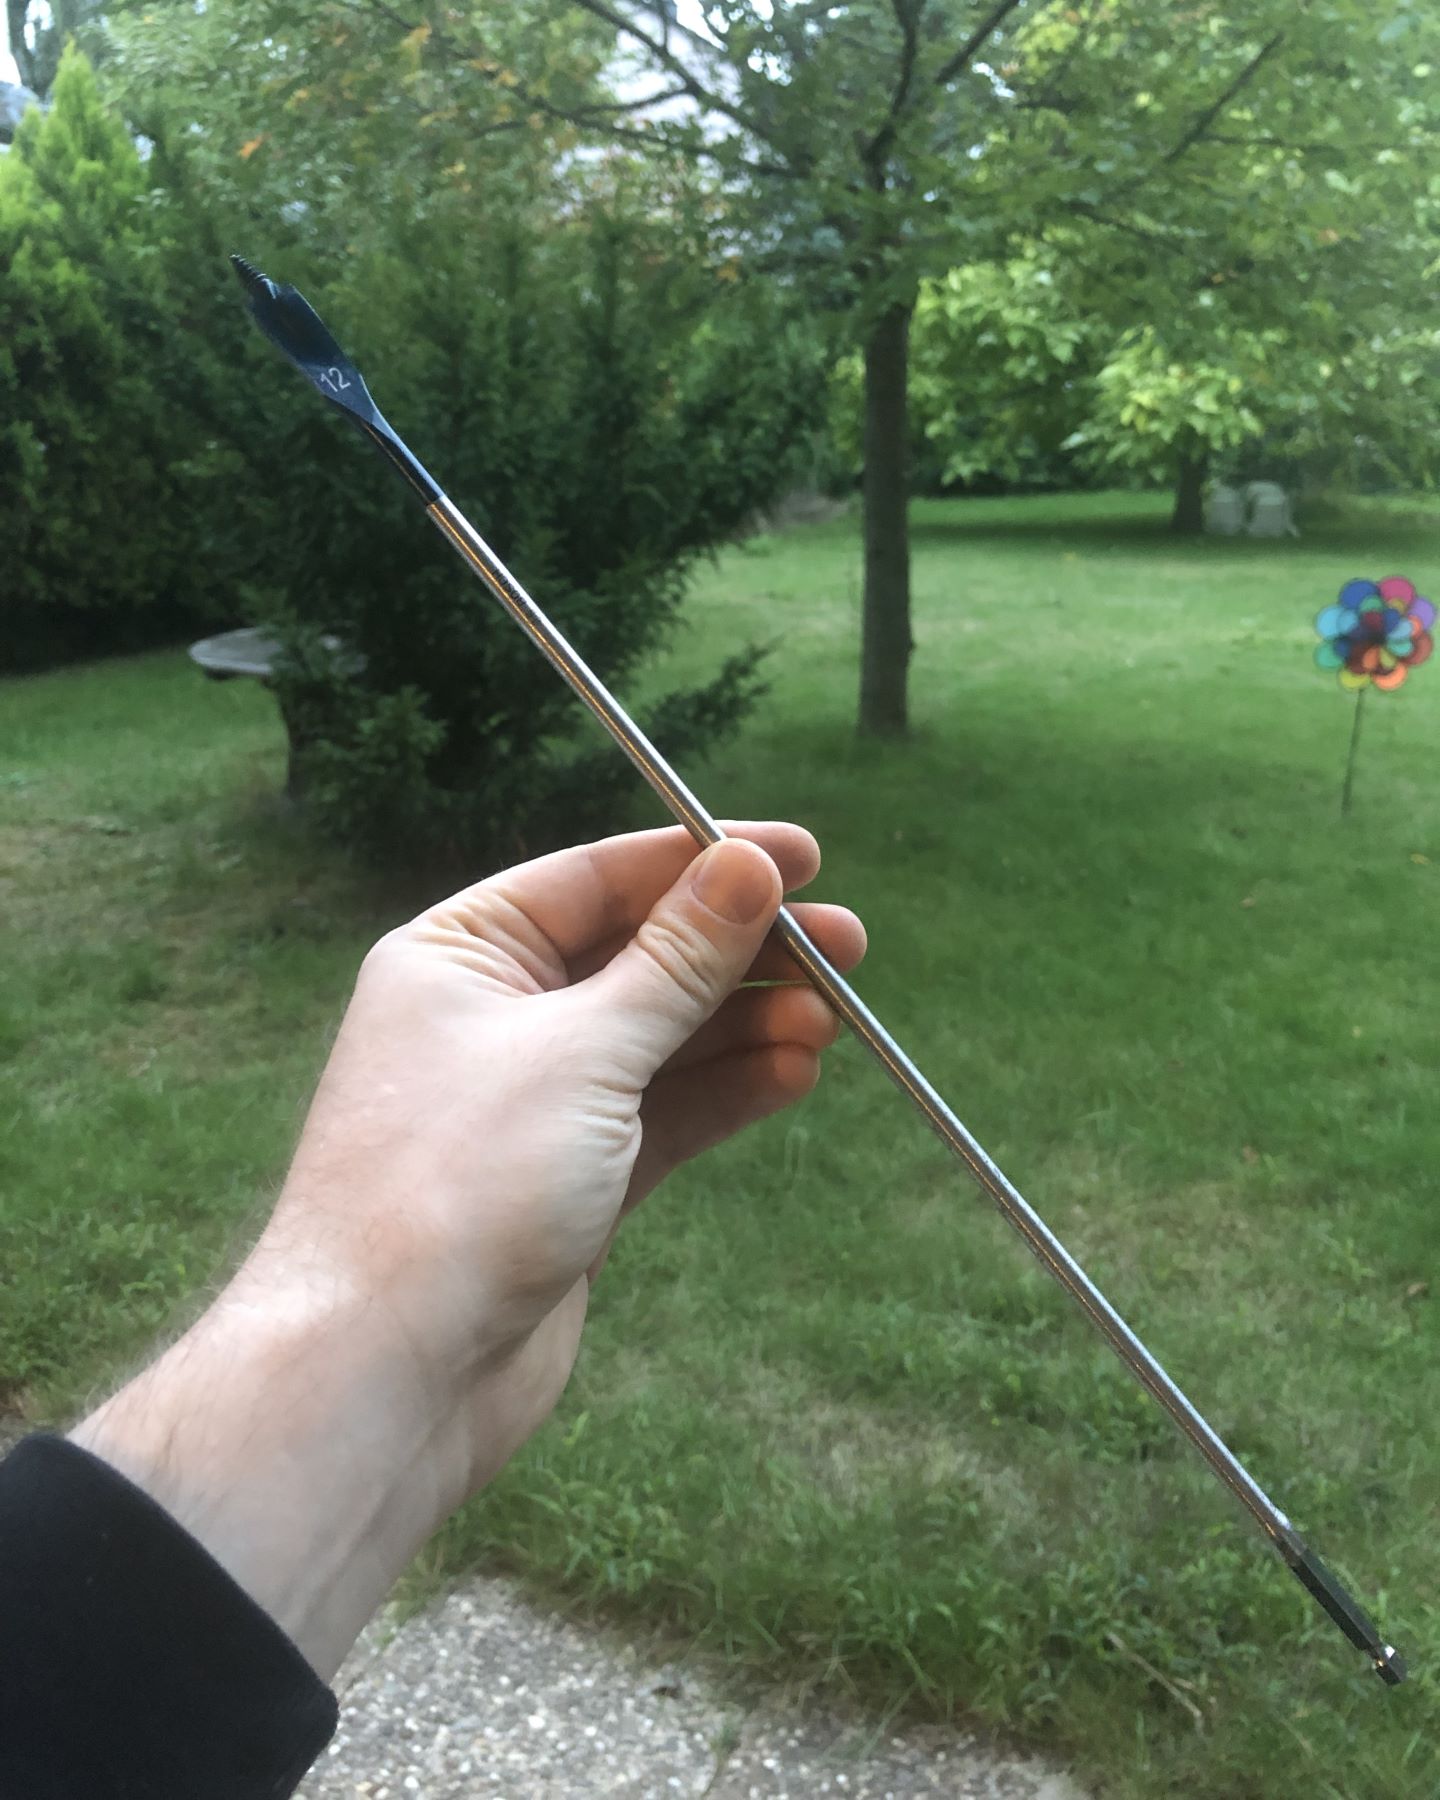
Yup. That's a 40 cm long, 12 mm spade drill bit. Scary. Two big advantages to using a spade bit for this though:
- It costs about a tenth of a similar size and length spiral bit
- The shaft is much thinner than the tip, so I get a lot more maneuverability while drilling through the connector holes at the side
To avoid any thin walls, I glued and hammered a piece of 8 mm beech rod into the old wire channel. Since I had to cut it off inside the pickup cavity, where no saw would reach I used a chisel to trim the rod to size. Then after some more planning, checking, and re-checking—and a lot of sweating, no blood or tears though—I managed to drill the hole correctly!
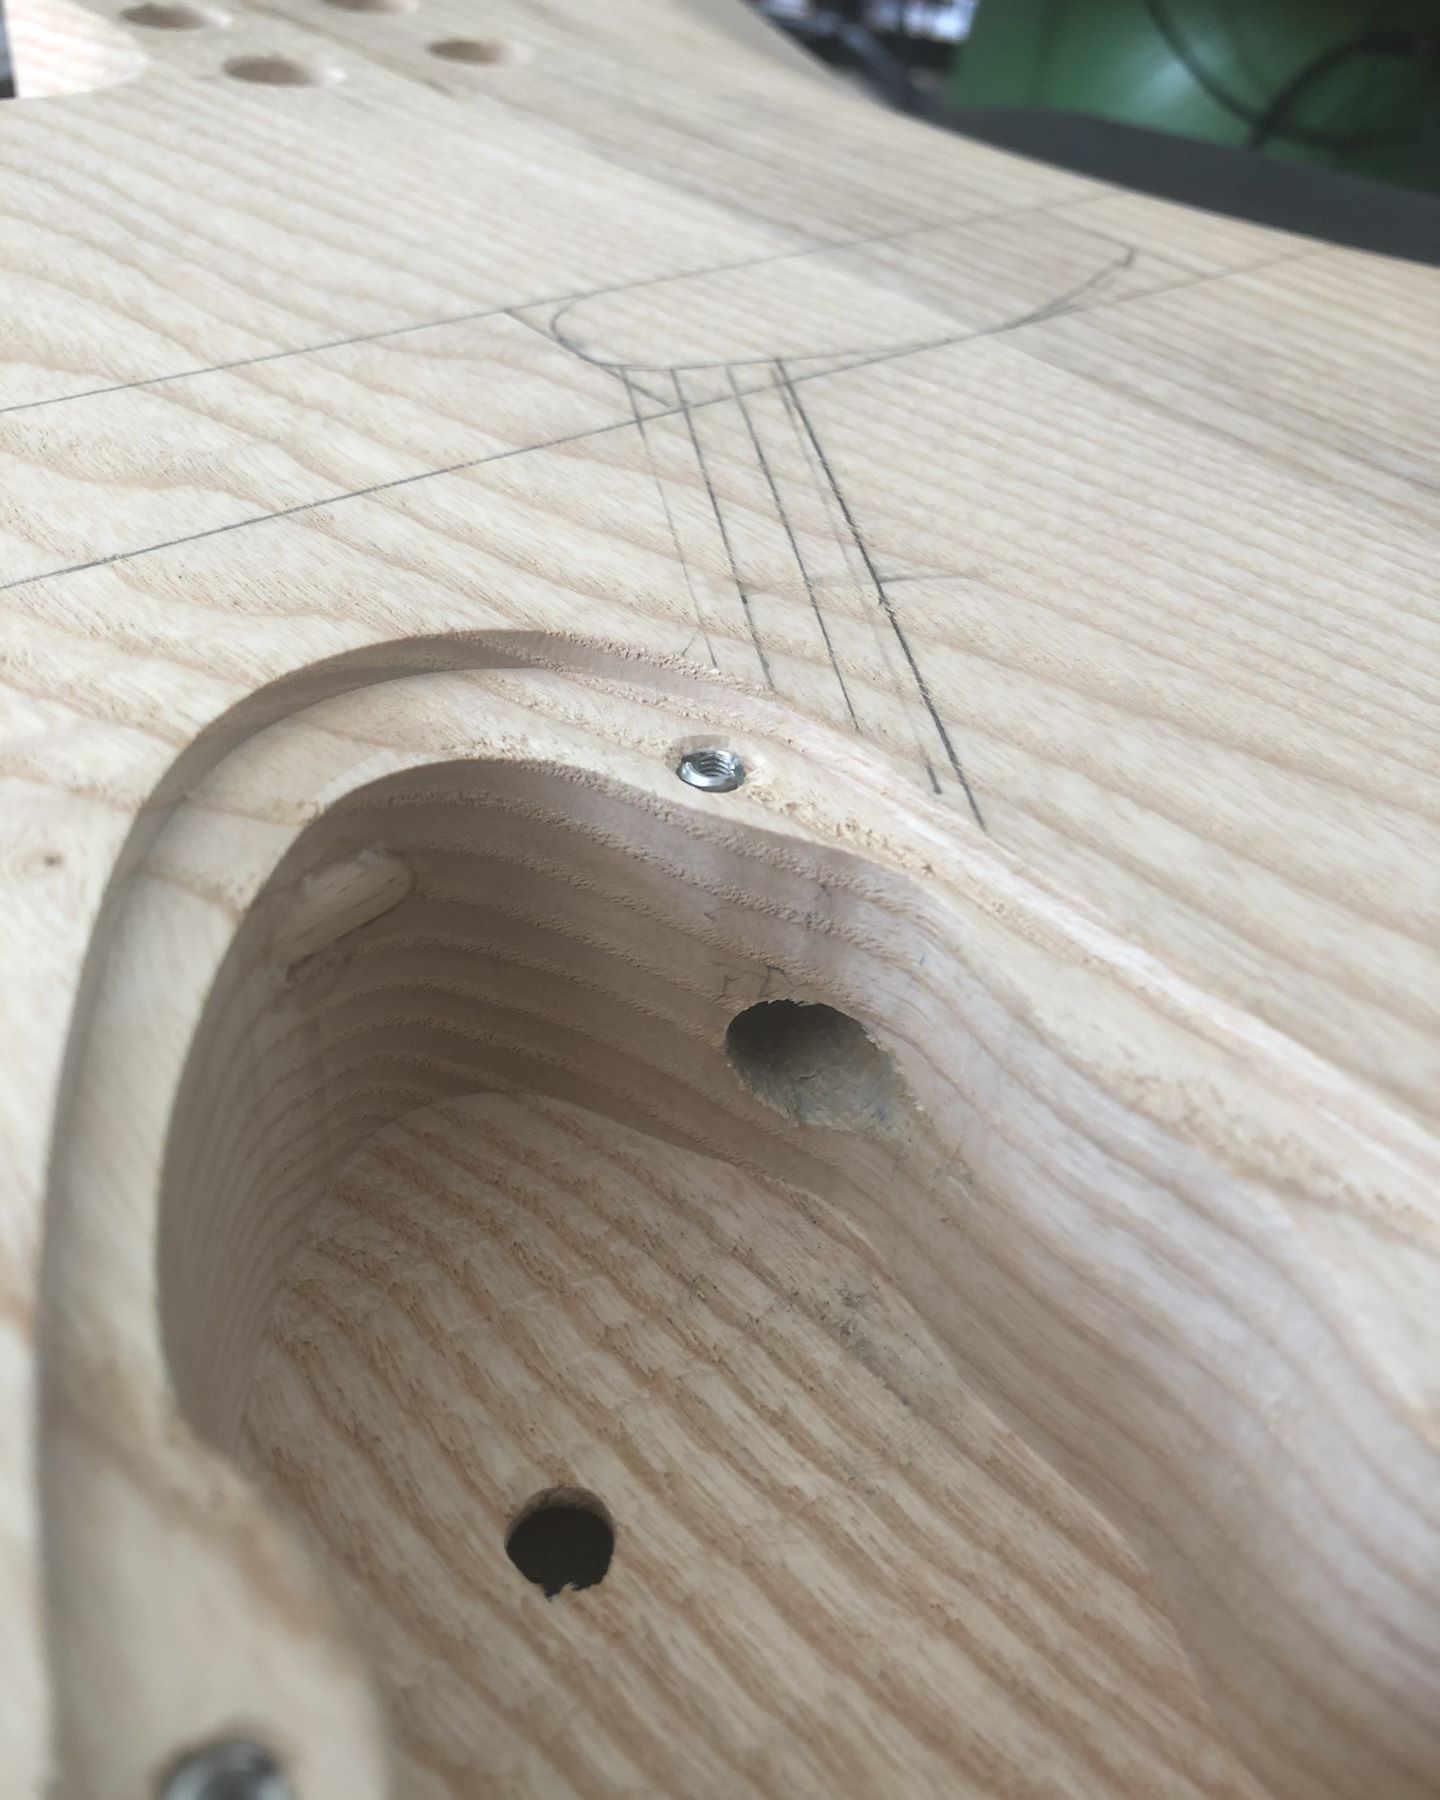
(See that bit of beech rod at the side? Told you the original hole was already a close call on both sides!)
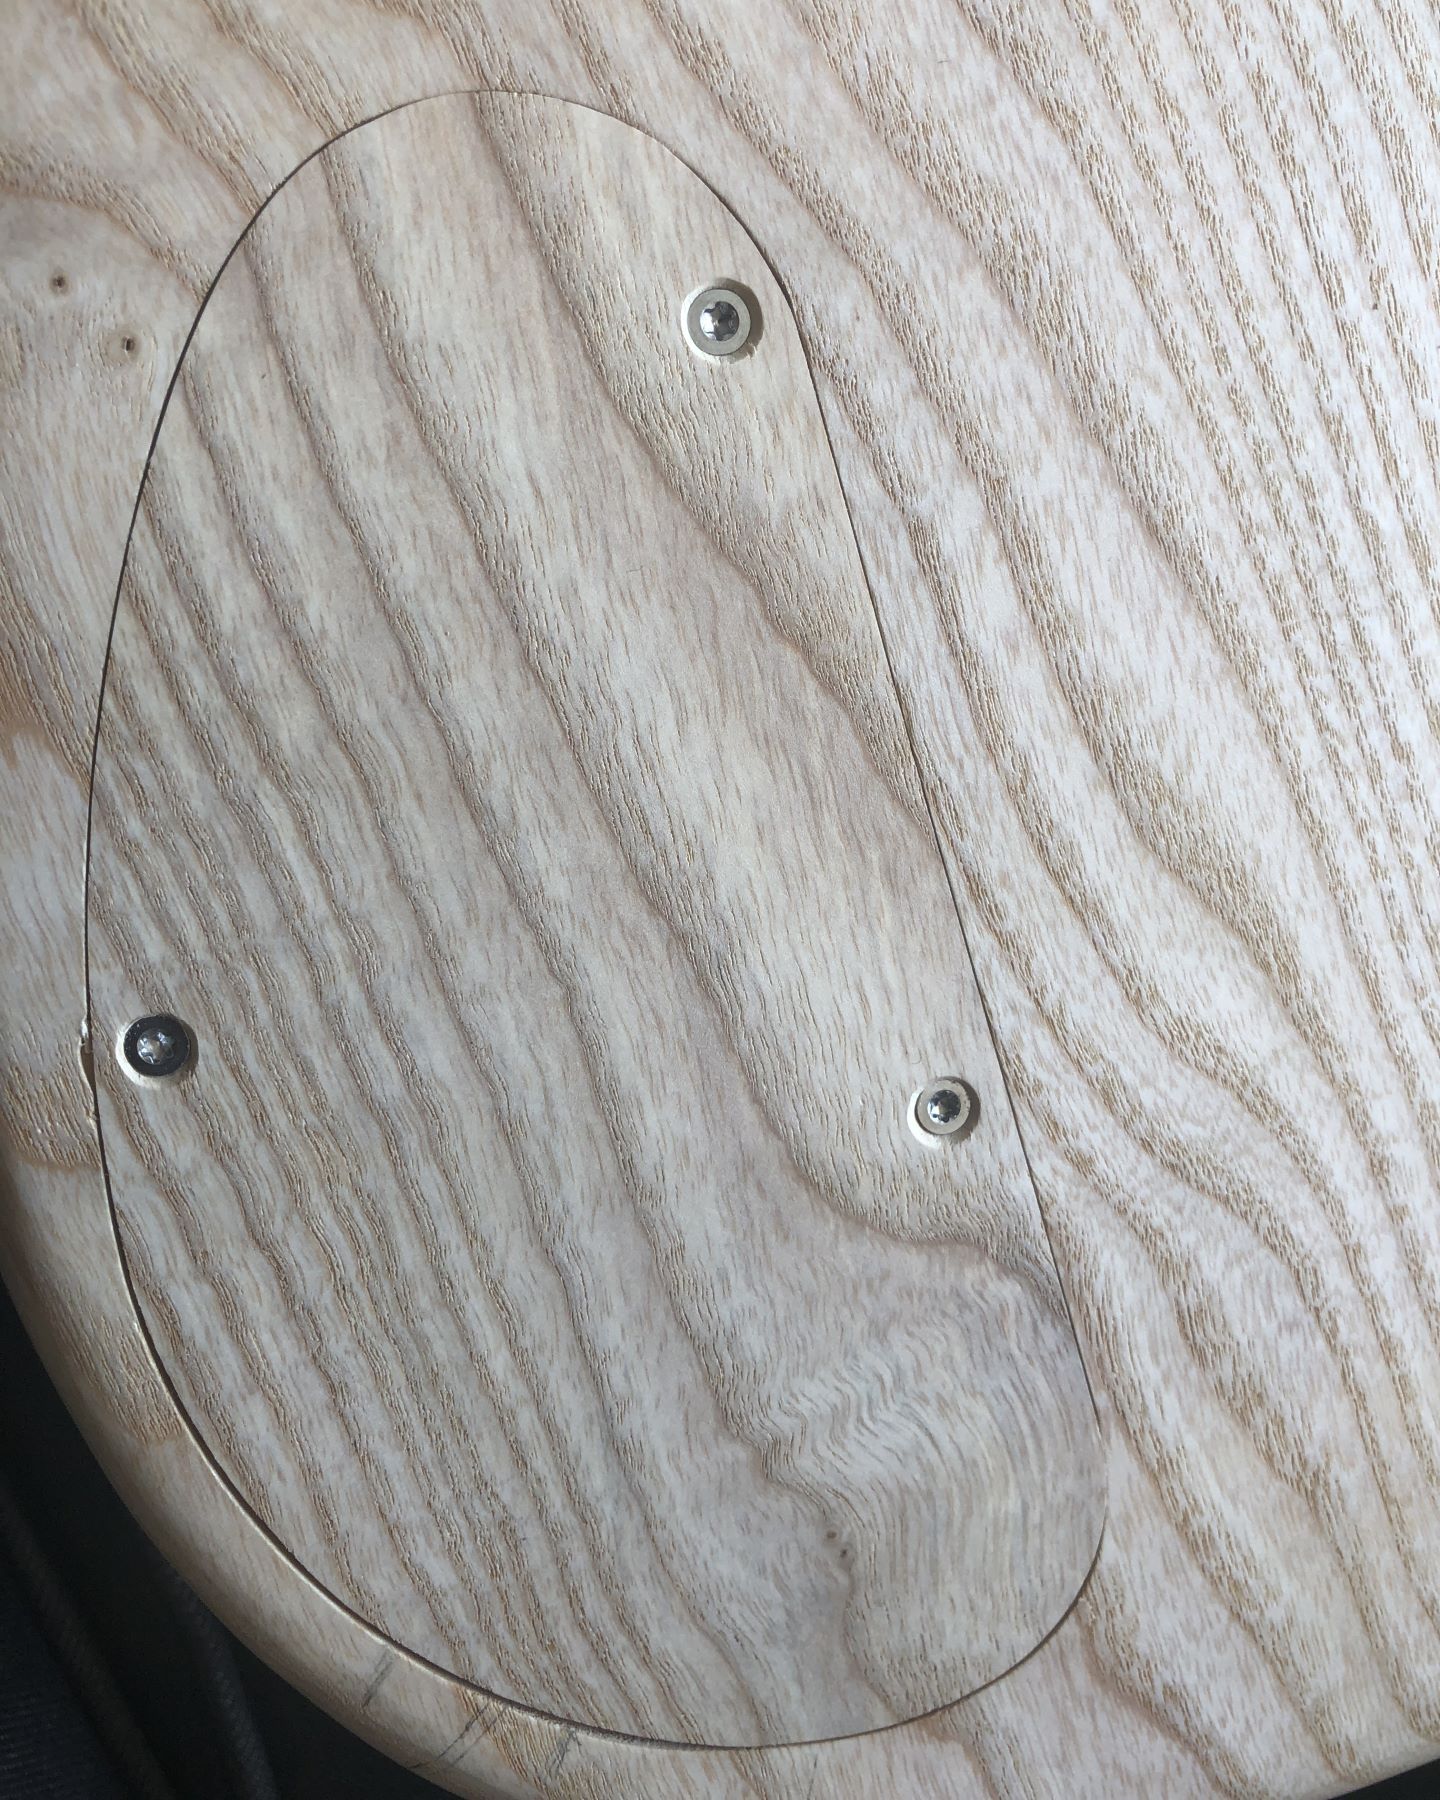
Now let's close it up (pretty awesome grain matching I must say, thanks Crimson!) with some Torx (for that modern high-tech look) bolts to match the neck bolts:
Now let's install that polyphonic connector…
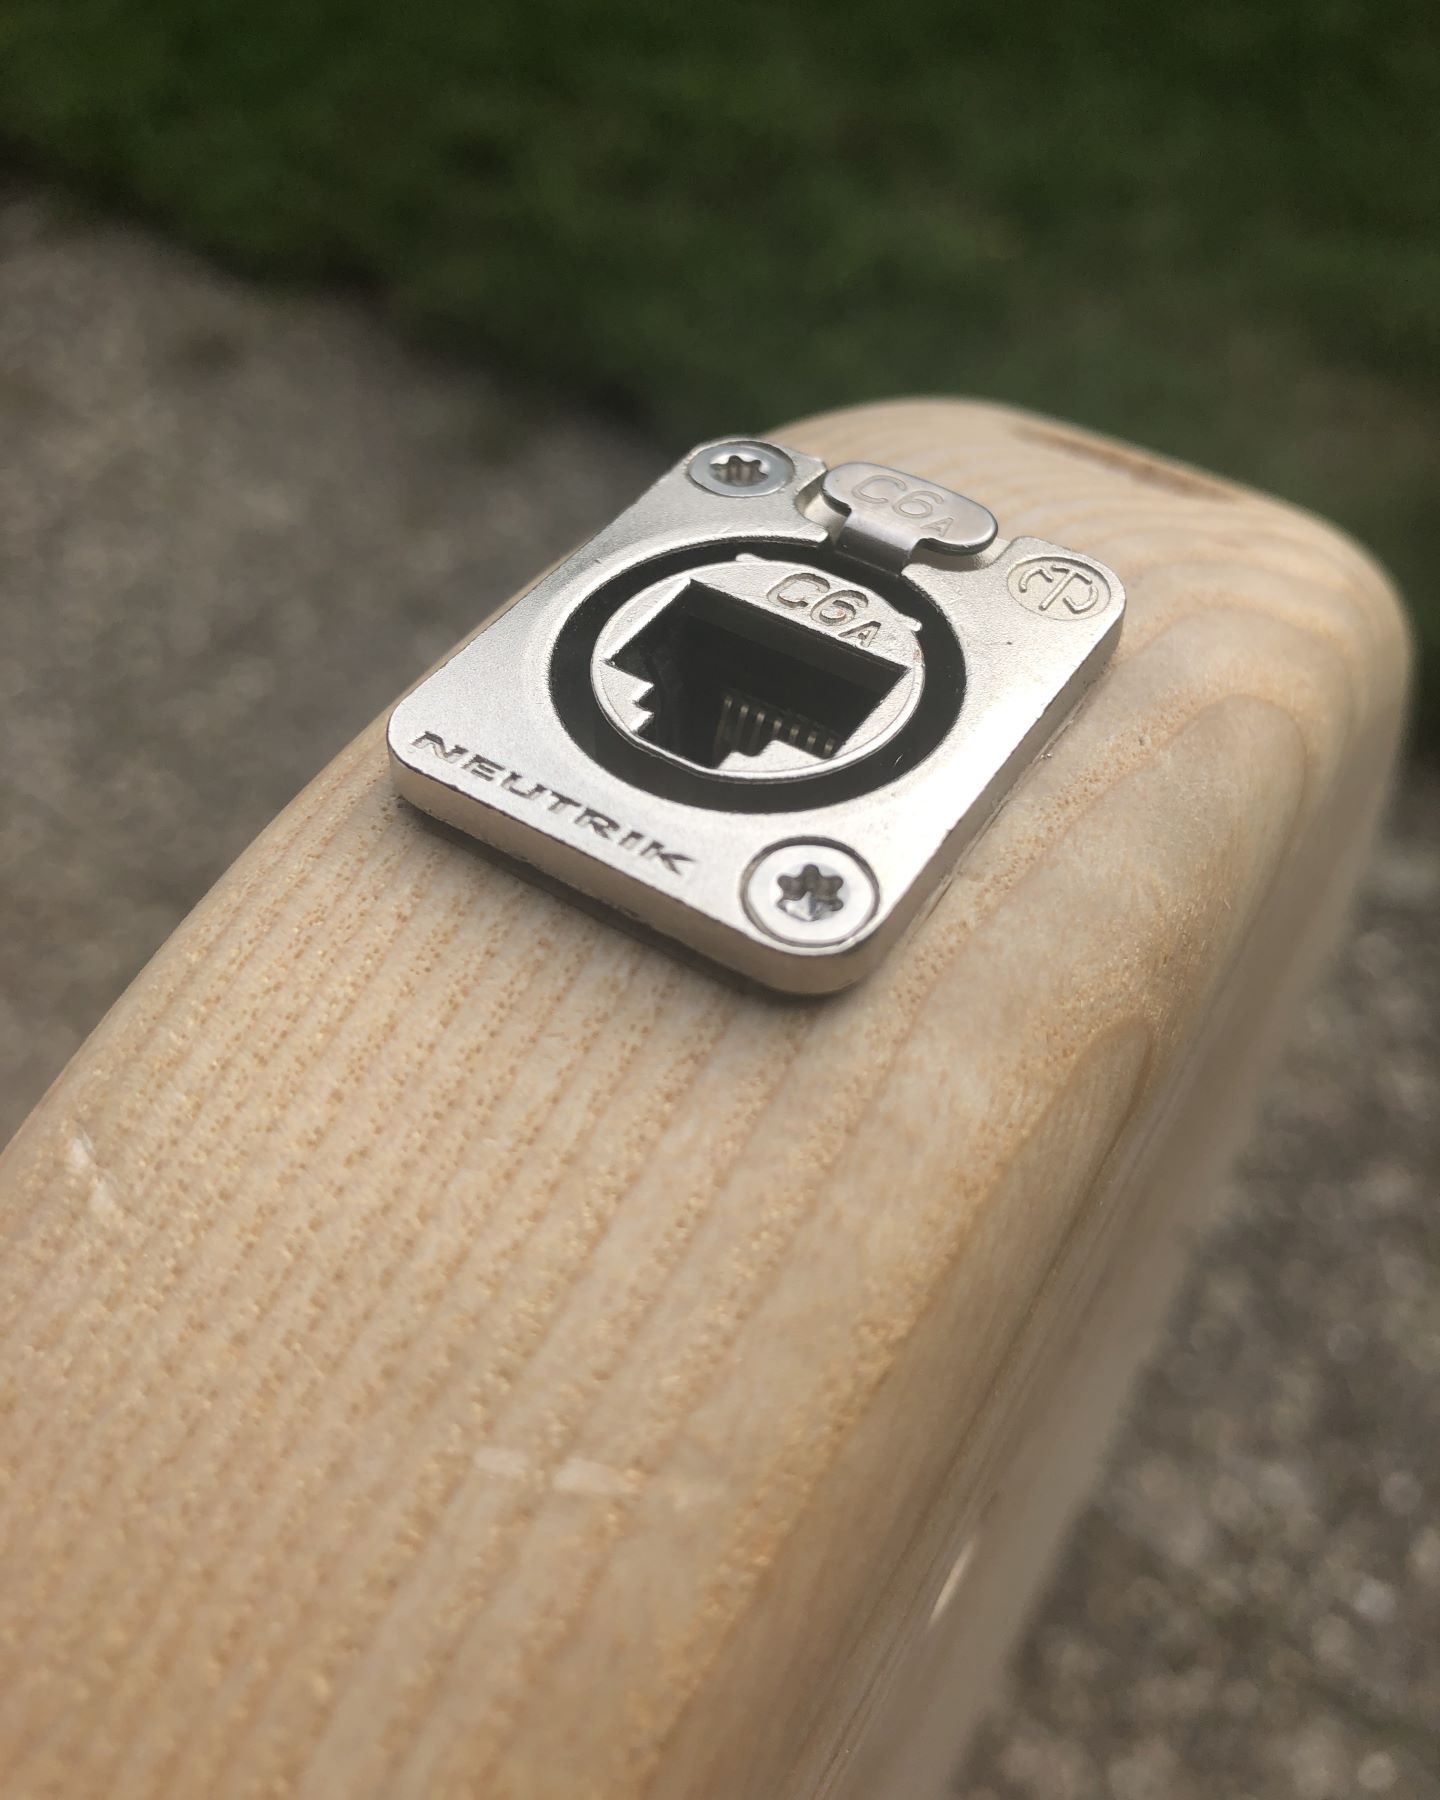
Well that won't do. Can't have it sticking out like that. First off, it looks ugly. Second, you are just bound to catch something on that gap.
Oh, and yes, I put an RJ45 socket into my bass guitar 😁 “Wait, Ethernet in a bass guitar?!,” I hear you say, “Are you out of your mind?” Well the answers to that are “no” and “possibly, since I think that would be awesome.” I'm just planning to use the four twisted pairs in an Ethernet cable to transmit four balanced signals—one for each string— into an RJ45 stagebox which converts to four XLR connectors (yes, you can buy these pre-made). And Ethernet cables are much cheaper than most other polyphonic guitar cables since you can buy them off the shelf. And since it's balanced you can even send P48 phantom power over the same wires! I haven't written anything about the active balancing and phantom power circuit, because it's not that interesting in my opinion, but if you want to hear about it anyway, send me a message.
But how do we get that connector not to stick out? Well, I could try inlaying it and that's pretty much what I did, so my first inlay was an Ethernet socket! I used a drill for the rounded corners—at which point I wished I hadn't drilled the central 24 mm hole yet, since the radius overlapped with that hole, causing the drill to skip like crazy. Oh well, nothing loads of glue and wood dust won't fix. For the straight parts and the interior I used a chisel again. Having to do all this in what is essentially half-way between straight and end grain was not fun. But since you can't see all the issues underneath, it actually looks ok:
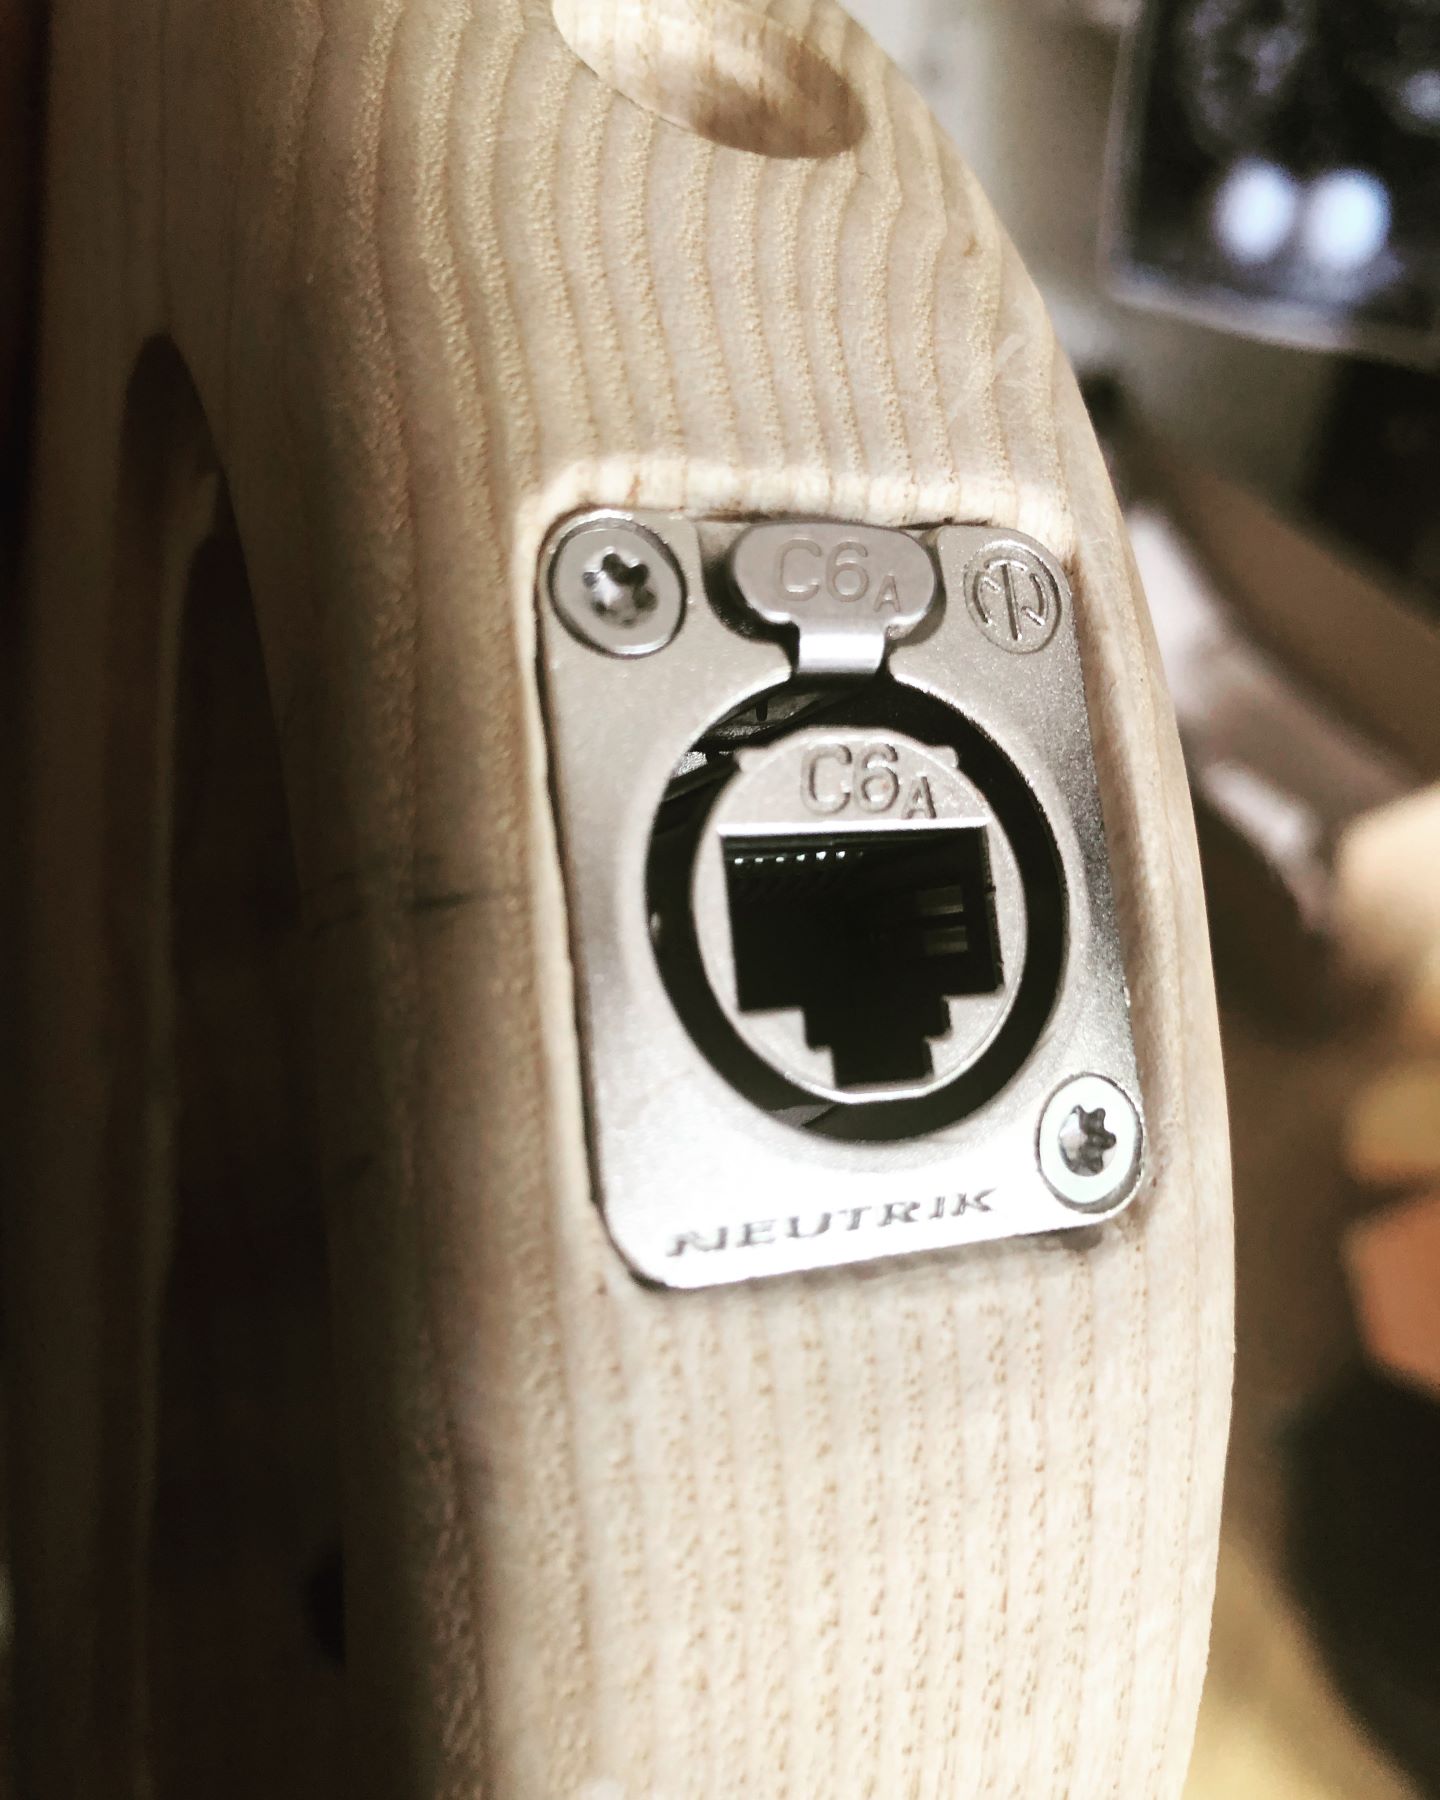
Now, with all the holes drilled there were just a few more steps left. The biggest one being to do the finishing. I really love the finish on the ash body of my main Sandberg bass, which is satin black but with visible and tangible grain:

To emulate this look I decided to try a metal wire brush to open up the soft grain, sand out any resulting roughness in the hard grain, stain it black, and finally cover it with a clear protective finish (I decided to use a two-in-one wood primer and finish, not the best choice as it turns out).
So step one, the wire brush. Since I am not a patient person, I got another scary bit:
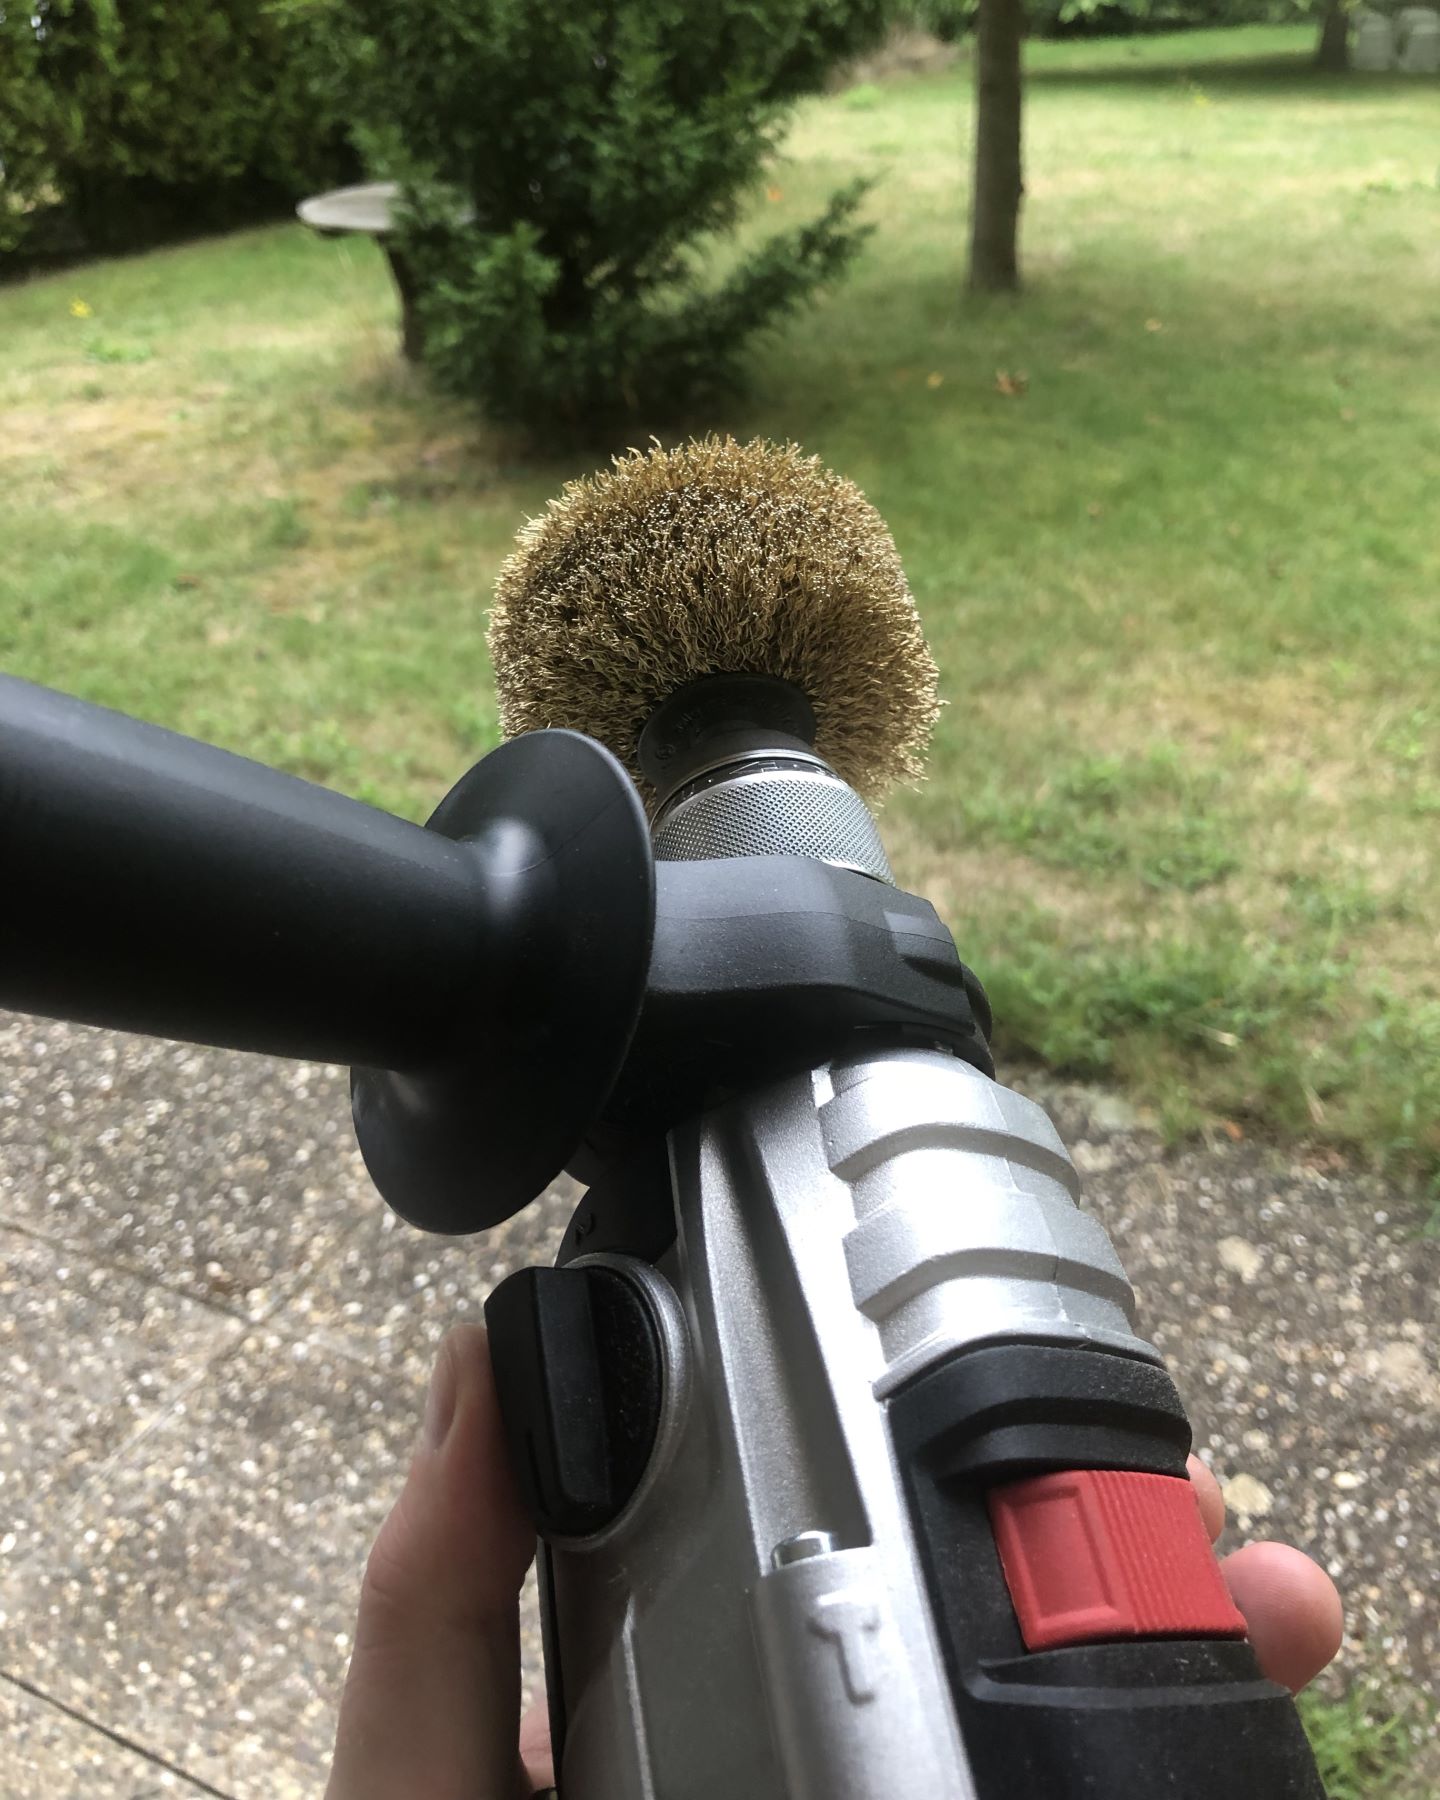
Since I didn't want to take it directly to the body I had spent so many hours on already, I did some tests on bits of ash I ordered online:
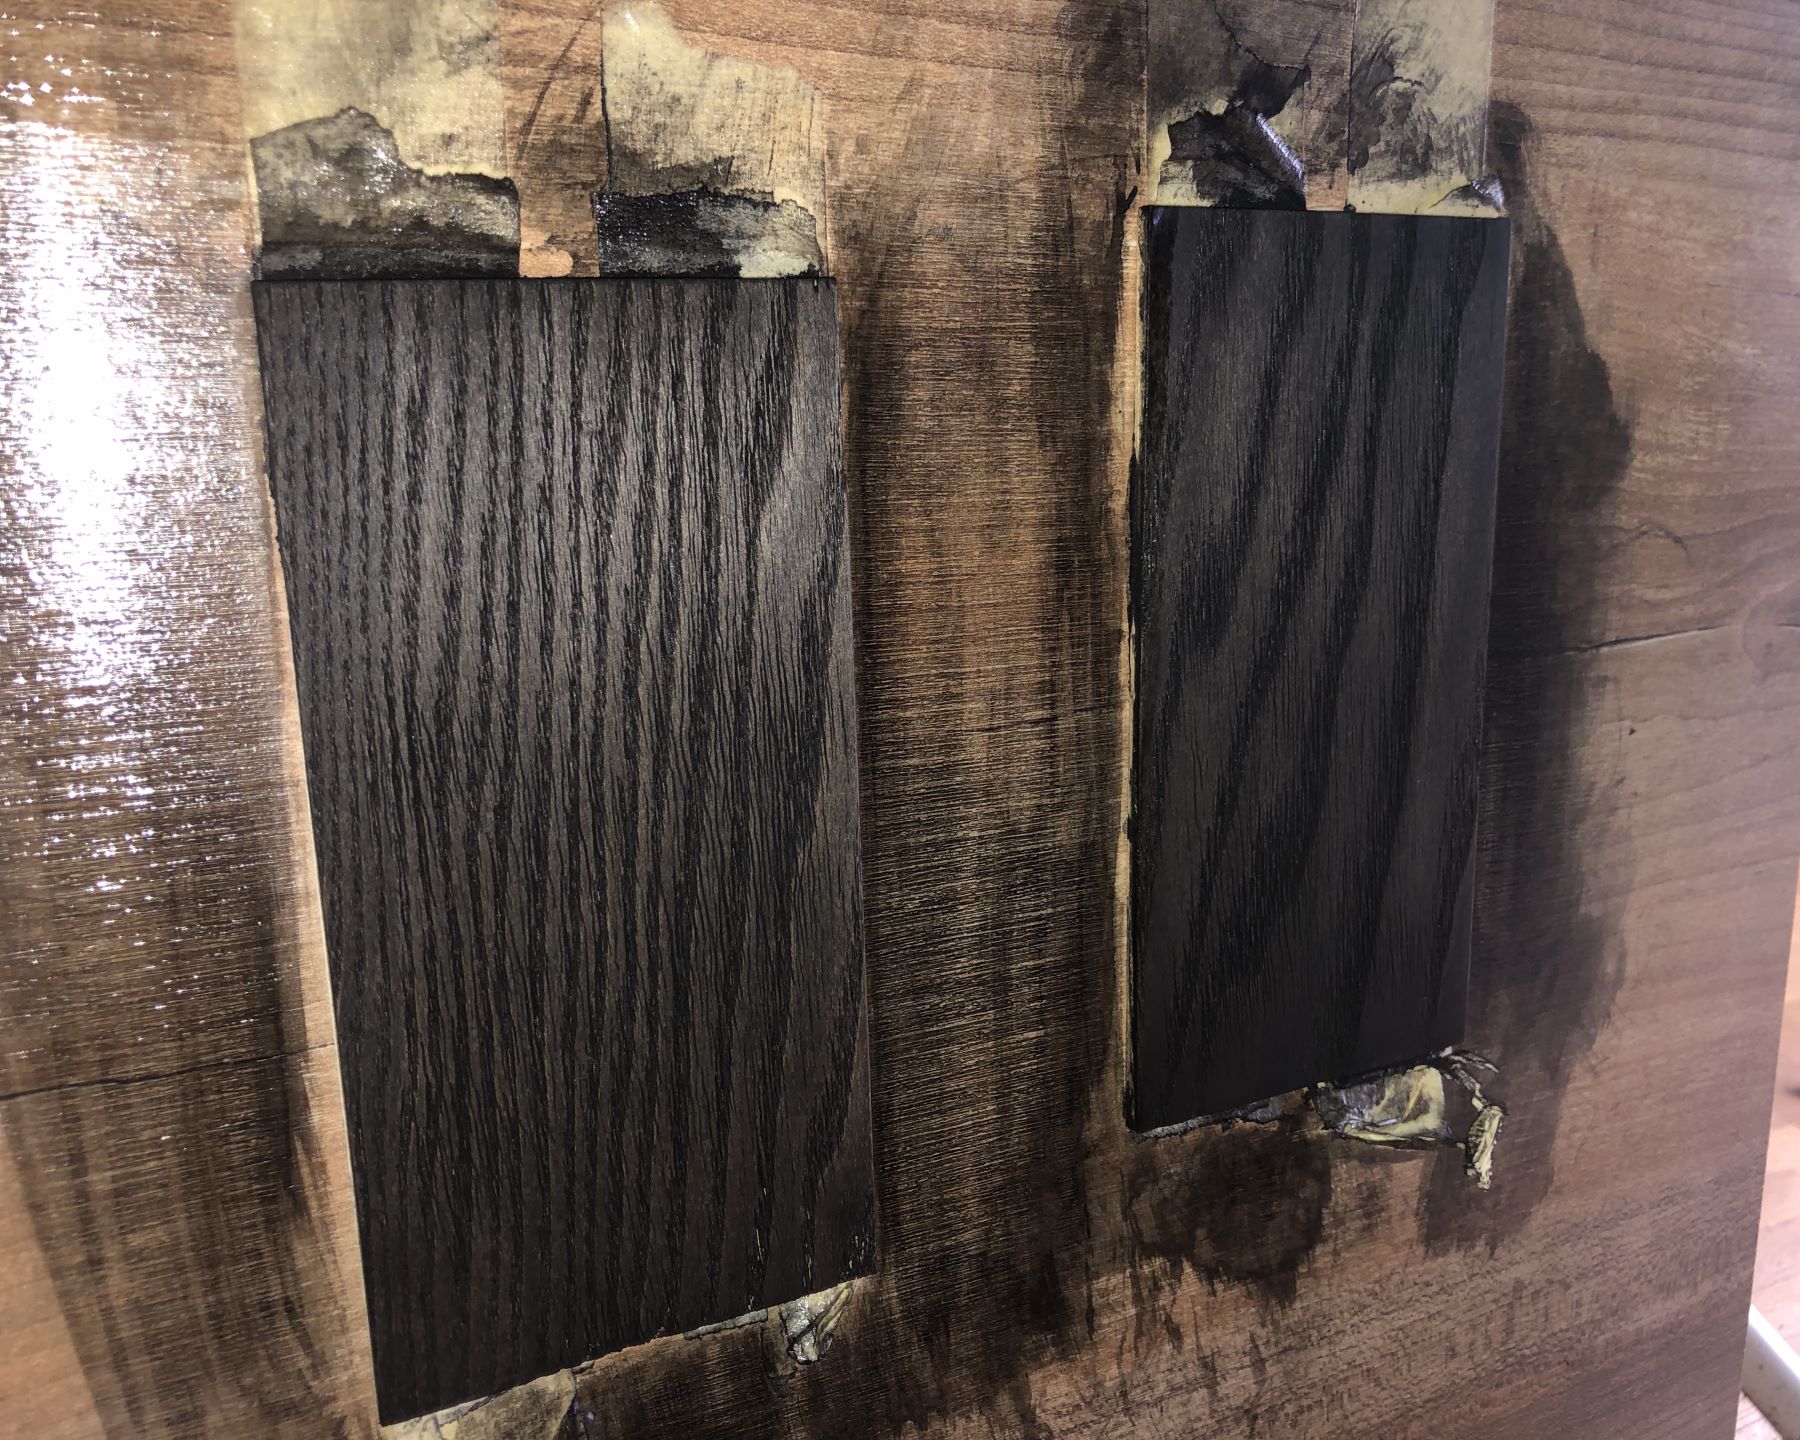
I wanted the result to be even blacker, so I decided I'd stain the body multiple times to get it darker. Boy did I underestimate how many times I'd be staining this thing. While two coats of stain did darken it to a point I was happy with, I made the mistake of getting water-based stain, which raised the grain, which meant I had to sand it smooth again, which went halfway through the stain in an instant with 400 grit sandpaper. A process I repeated at least three times on the entire body before the stain didn't significantly raise the grain anymore.
Then—despite initial tests—it turned out I bought an ill-suited finish. After applying the finish, it initially looked good, but after drying the body was now glossy in some spots and matte everywhere else! I tried sanding the glossy spots with very fine sandpaper (1000 grit or so), which immediately went through everything in some spots before even touching the glossiness in others 💩. I had to re-stain and refinish again.
This time I applied a thicker coat in hopes that it would at least be consistently glossy, but no luck. Instead of glossy in some spots it was now matte in some spots and glossy everywhere else 💩💩. I tried sanding (again with very, very light sandpaper), but the layer of finish turned out again to be incredibly thin. So I (partially) re-stained and refinished it all again. In the end I had to spray on more of the stuff to get it glossy everywhere, except it didn't stick to the spots where it was already glossy at all and pooled into small droplets instead. Oh well, permanent wet look it is I guess.
Some day I might re-do it all again with a different type of finish, only issue is: the two-in-one wood primer and finish warns to under no circumstances spray acrylic lacquers over it, so I'd have to strip it all to bare wood, which might prove difficult to impossible in the soft grain areas. And unless you're standing real close you don't see it anyway, so I decided to assemble the bass as is. So here go the beauty shots:
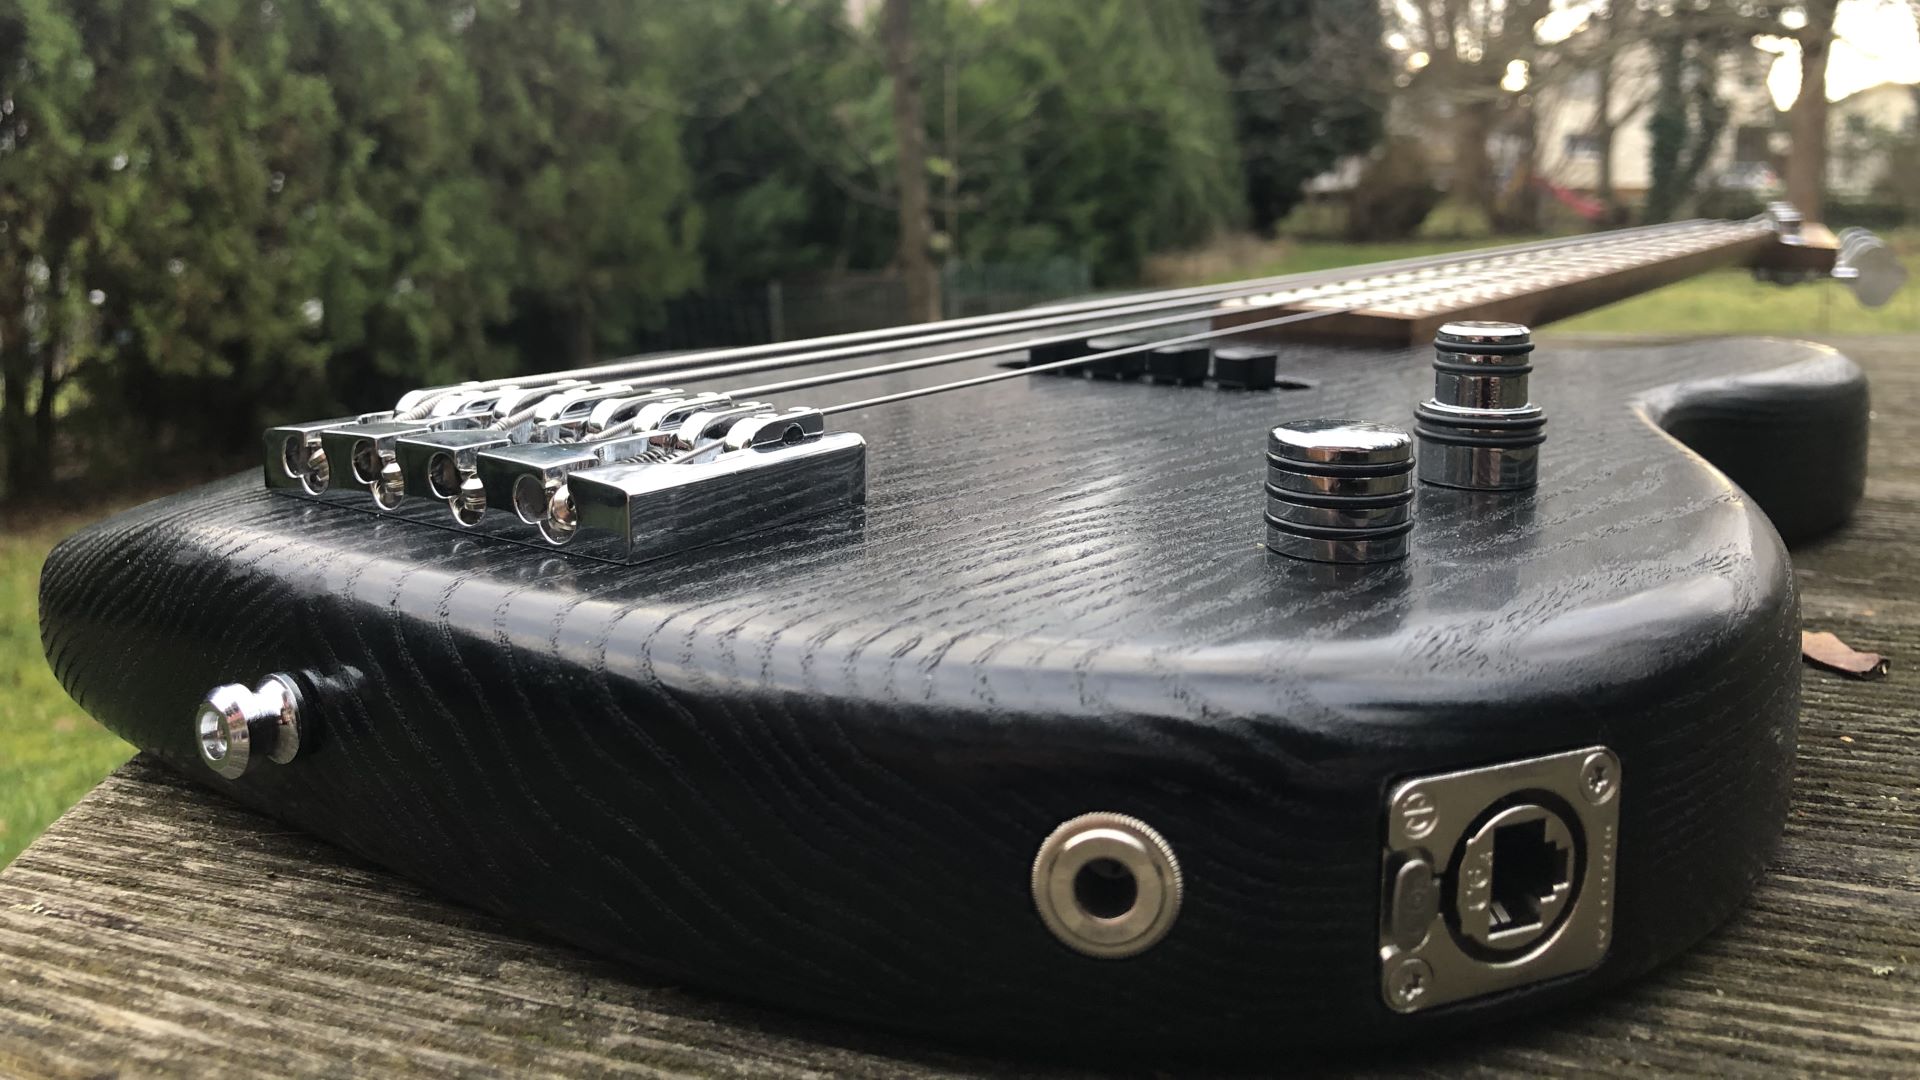
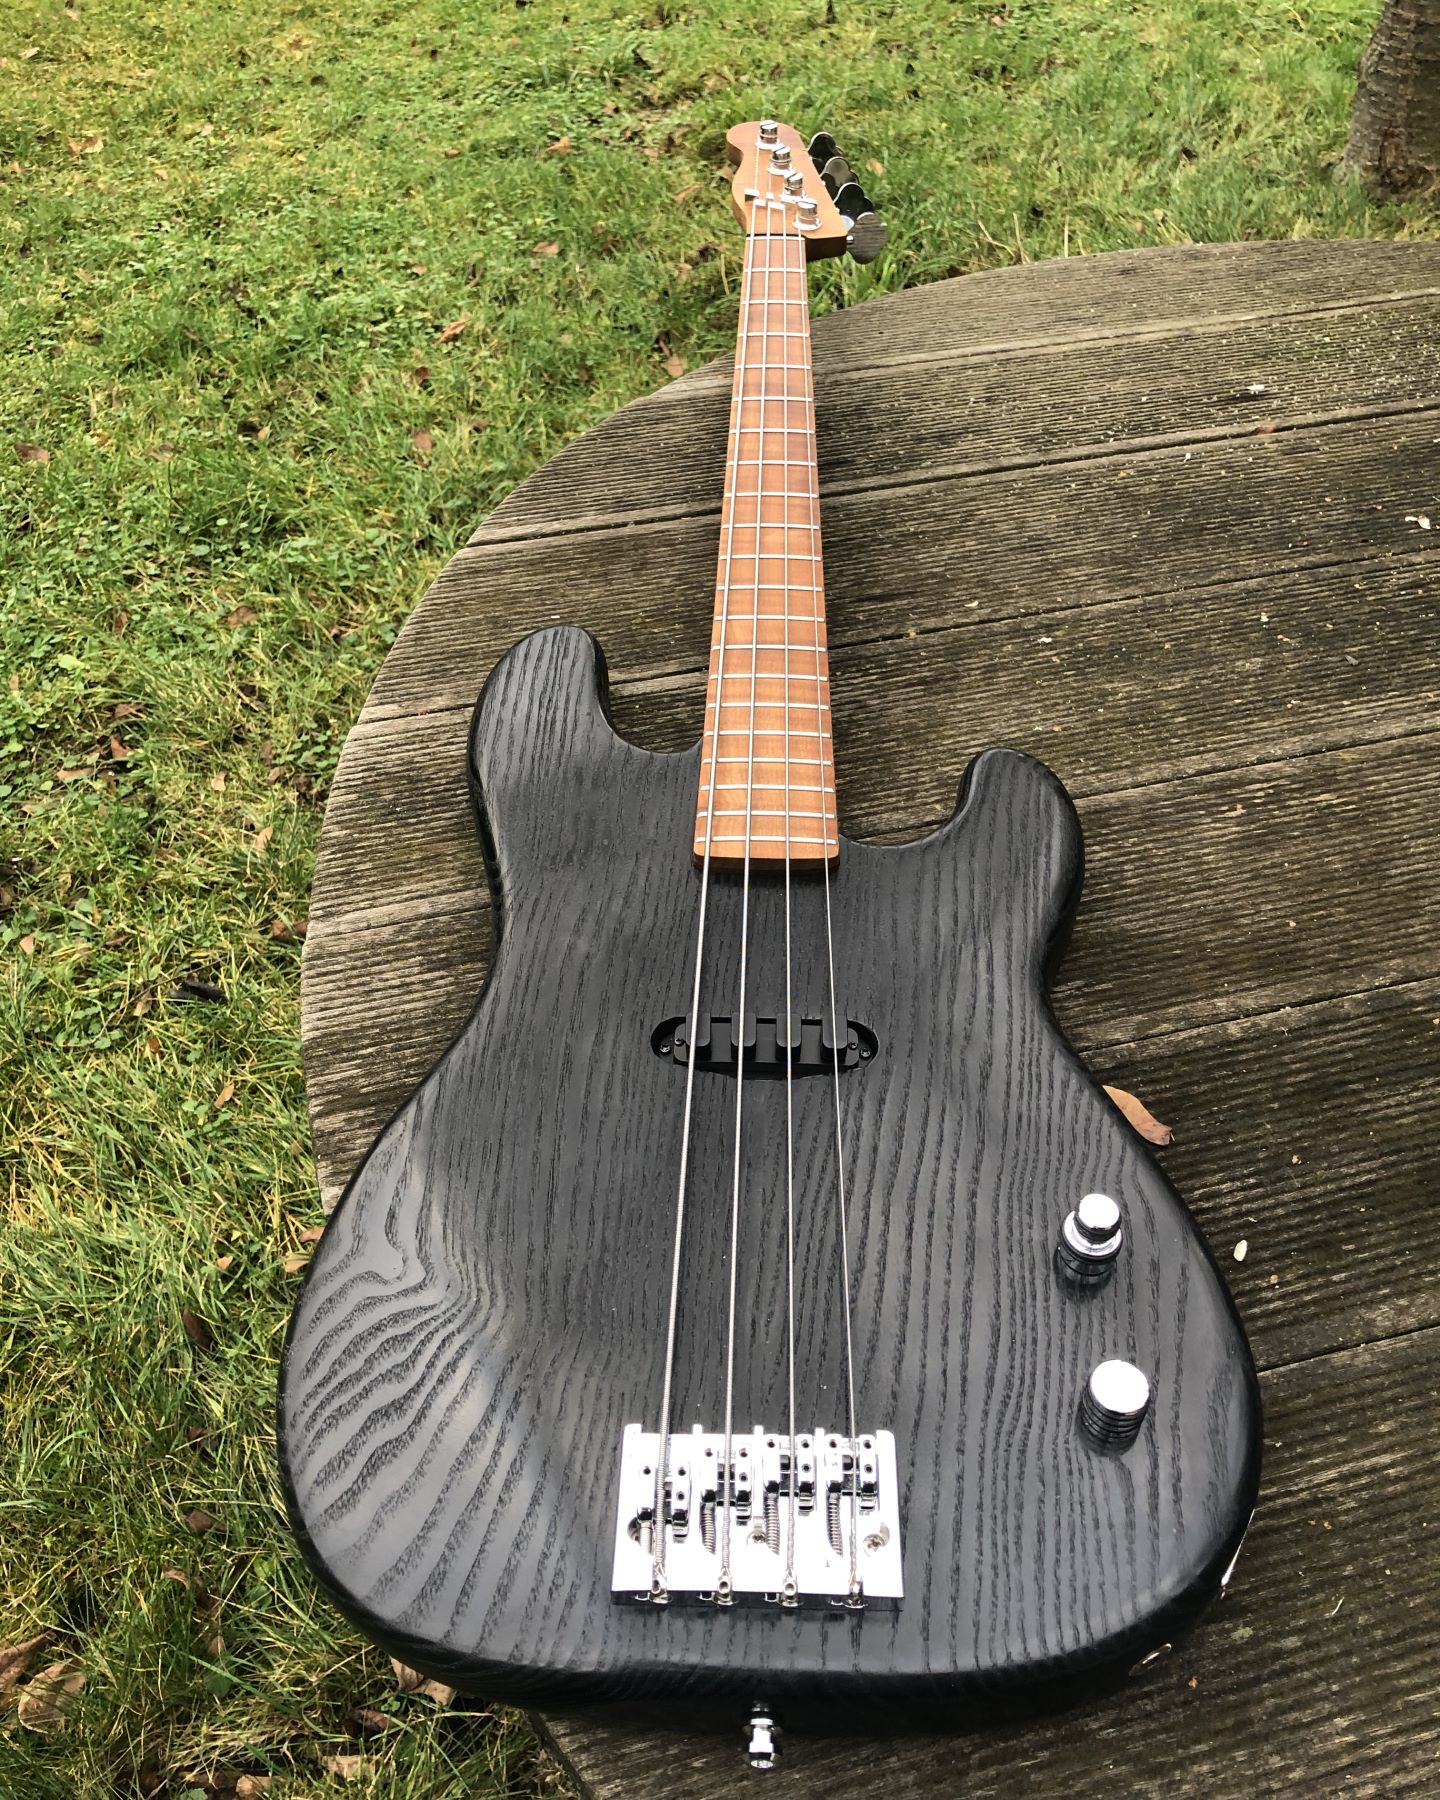
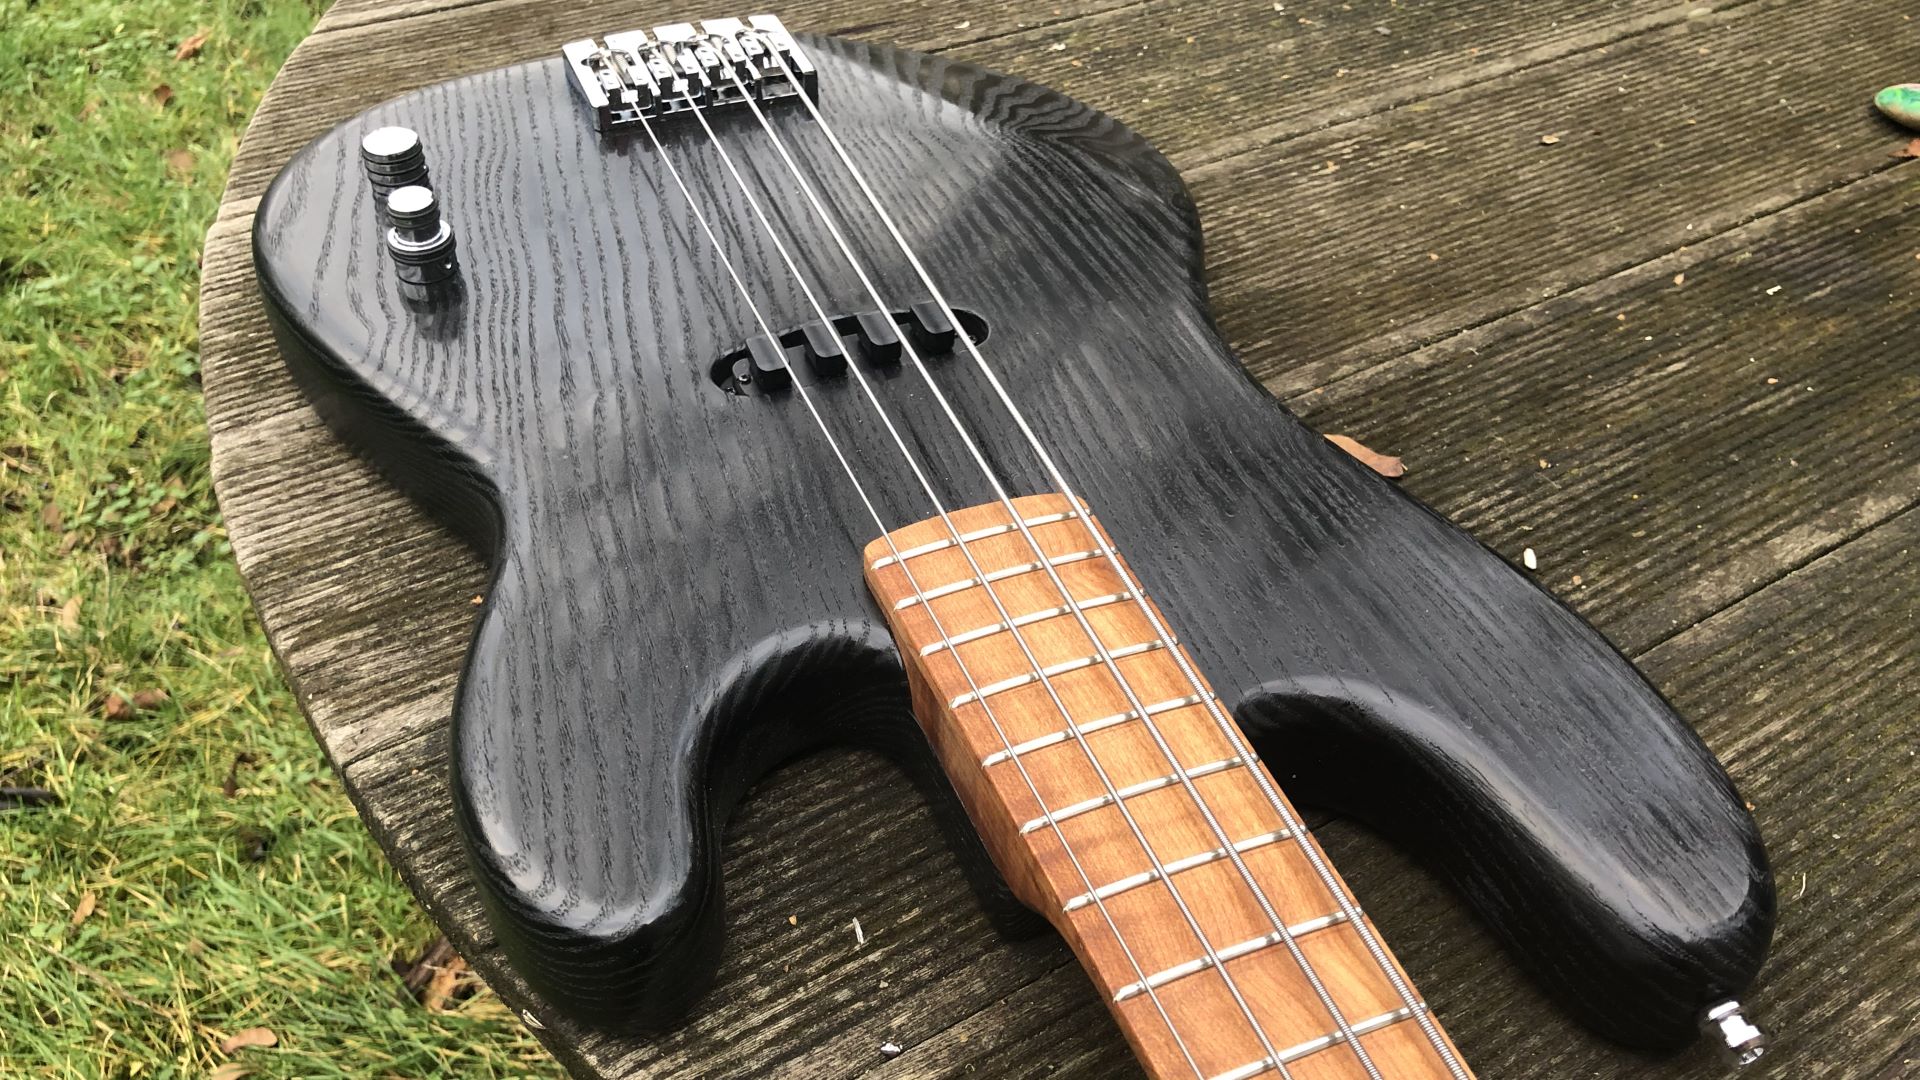
Not half bad to be honest. While I'm definitely not happy with everything, all in all it looks pretty good. And I even got a small unexpected bonus. The neck I got had a pretty significant (partial) flame to it, so I just had to oil it:
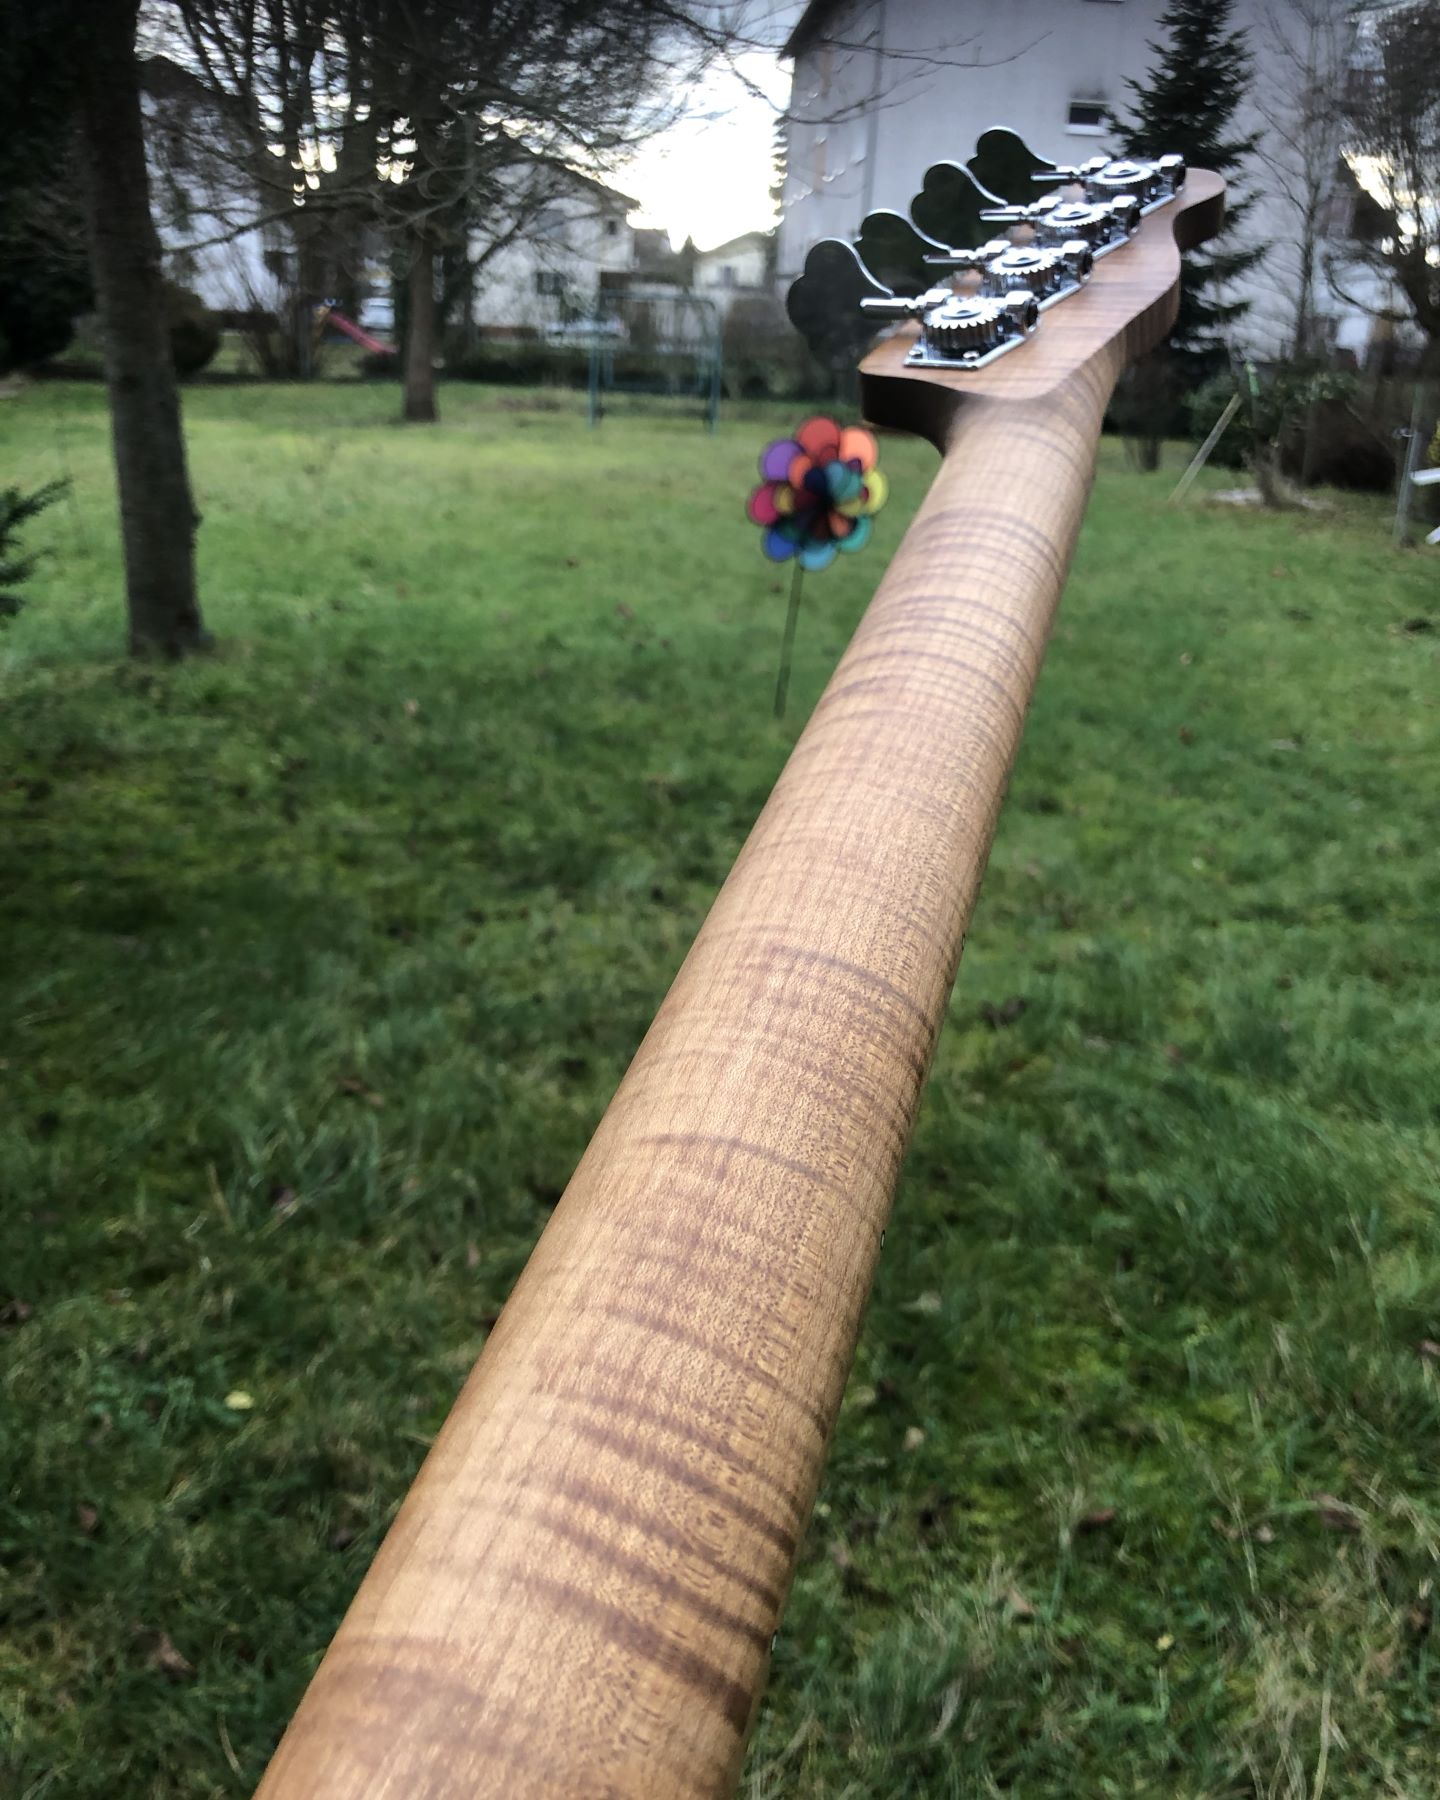
Beautiful! For those of you who like spec lists, and I know you're out there, here are the specs:
- Ash body
- Roasted maple neck
- 34" scale
- Neck bolted on with six machine screws and threaded inserts
- Luminlay side dots
- Cycfi polyphonic Nu Multi pickup
- jsAudio (a.k.a. me) custom electronics
- Balanced line driver with P48 phantom power
- Resonant SVF filter with variable frequency and resonance
- Graphtech Black Tusq XL nut
- Chrome hardware
- Hipshot A Style FM1 bridge
- Graphtech classic cloverleaf Ratio machine heads
- Sandberg string retainer
- Hipshot O-ring knobs
- Schaller strap locks
Is it finished? Well… not entirely. In the current version, the electronics were too large to fit in the electronics cavity 😔. I have re-designed them, and they're currently on their way from the manufacturer in China. Fingers crossed they'll fit this time. I will probably also need to shield it, since right now I have some hum and buzz issues (or it's a bad solder joint somewhere). If the electronics still don't fit I may have to add a separate battery compartment, which may prove difficult as I have no router. Although in theory it should be possible with a Forstner bit and some chisels.
In any case, that's it for today, and as usual, feel free to follow me and send me a DM on Mastodon if you have any questions or comments. I hope I'll have an update by next month.
